How to Make a Cooling Neck Wrap

I don't know about where you live but, it's hot in Texas! Here we are at the end of July and temperatures are still in the high 90s and low 100s! It's important to stay cool in the summer months, wherever you live, so we have come up with this simple tutorial to make your very own cooling neck wrap using our water crystals.
Fair warning, I am not an accomplished seamstress by ANY means but, I can sew a straight line. That being said, if I can make this, so can you!
First, let's gather all the materials and tools we will need for this project

Here's What You'll Need:
Water Crystals
At Least 1 Yard of Fabric
Thread
Scissors or Rotary Cutter
Straight Pins
Standard Sewing Needle
Sewing Machine
Step 1
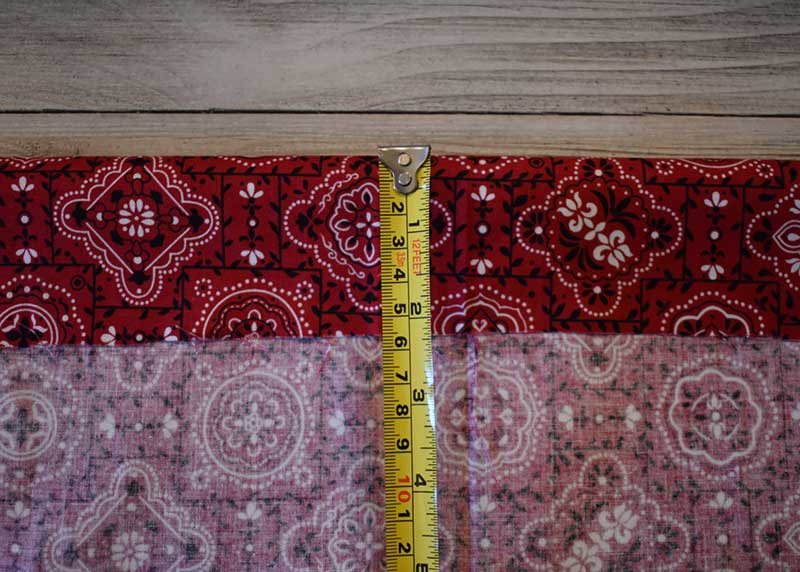
Lay out the fabric and fold it over one side. You'll want to measure out about 2.5 inches for the proper width.

Step 2
Take your scissors or rotary cutter and cut along the line opposite the fold as seen in the picture.

Step 3
Next, measure the length of the fabric. You'll need it to be between 36-40 inches for it to be able to wrap around your neck and tie comfortably.

Step 4
Now, flip the fabric inside out and fold down the center. Then, place straight pins all the way down to keep the fabric in place while you sew it together.
Step 5
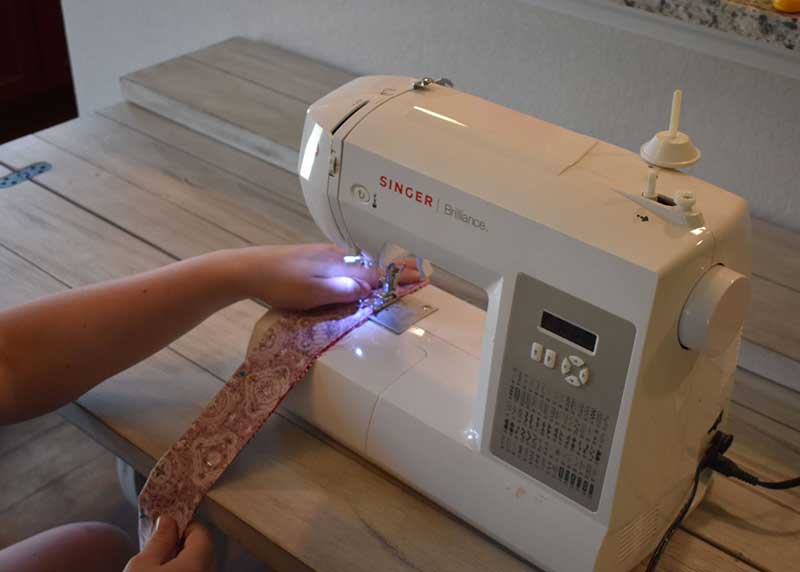
Now it's time to sew the open side together. Simply run your sewing machine down the open side, removing the straight pins so you don't damage your machine. The first line should only go about halfway down. When you get halfway, back-stitch a bit and then set up again leaving about a 2-inch gap between lines. You need this gap so you can turn the fabric right side out and fill it with water crystals. Once you have sewn the second line, you're ready to move on to the next step.
Step 6
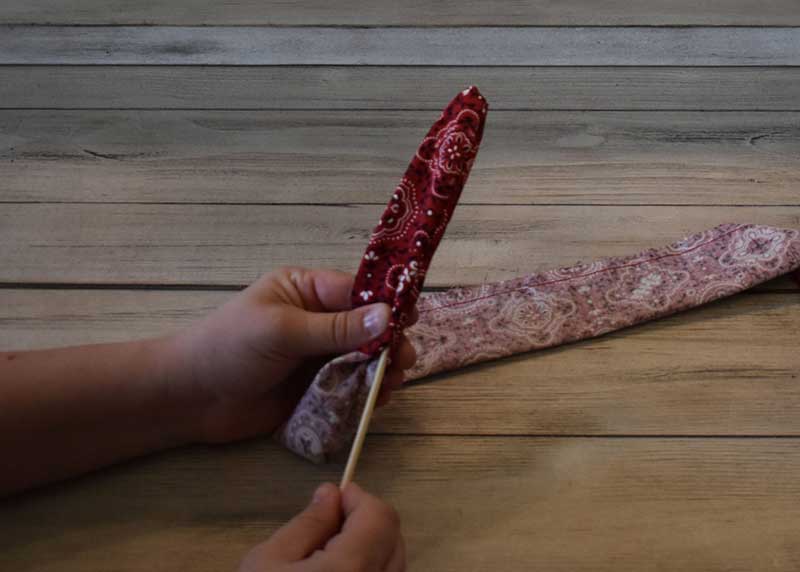
Next, turn the fabric right side out through the hole in the center. You can use something like a bamboo skewer or rigid straw to help make it easier to push the fabric through and get into the corners.
Step 7
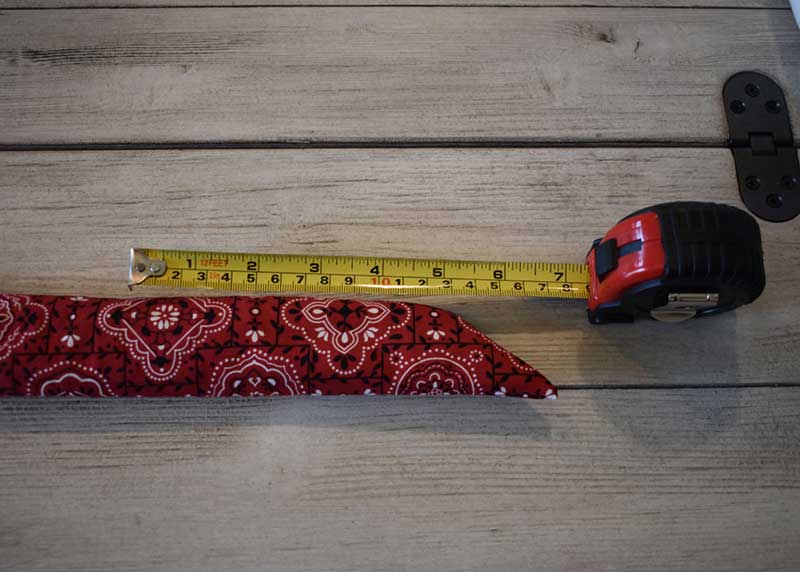
You'll need to sew the ends up about 7-8 inches in from the end of the wrap. This is so you will be able to tie it around your neck so it won't fall off. Measure from the tip of the wrap and use a straight pin to mark where you'll need to stitch.

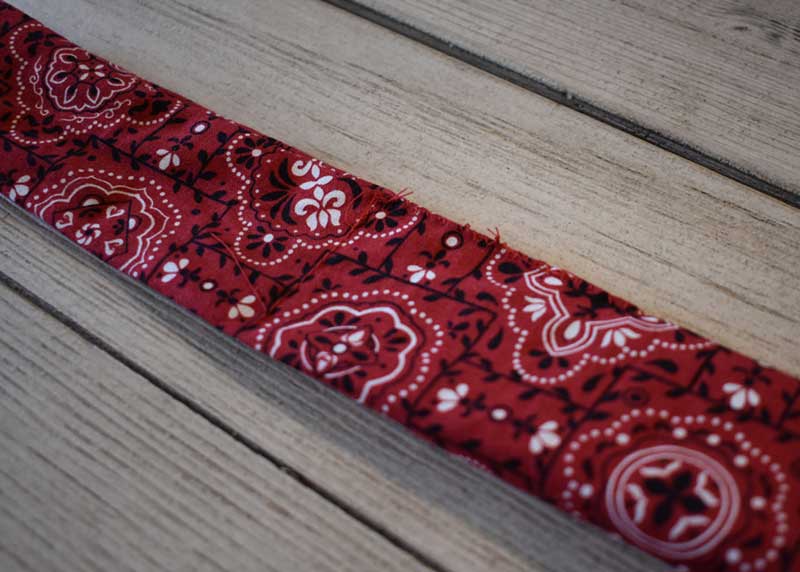
Step 8
Line up your sewing machine and sew a straight line across where you measured from the end of the wrap. Now you're ready to move on to the next step.
Step 9
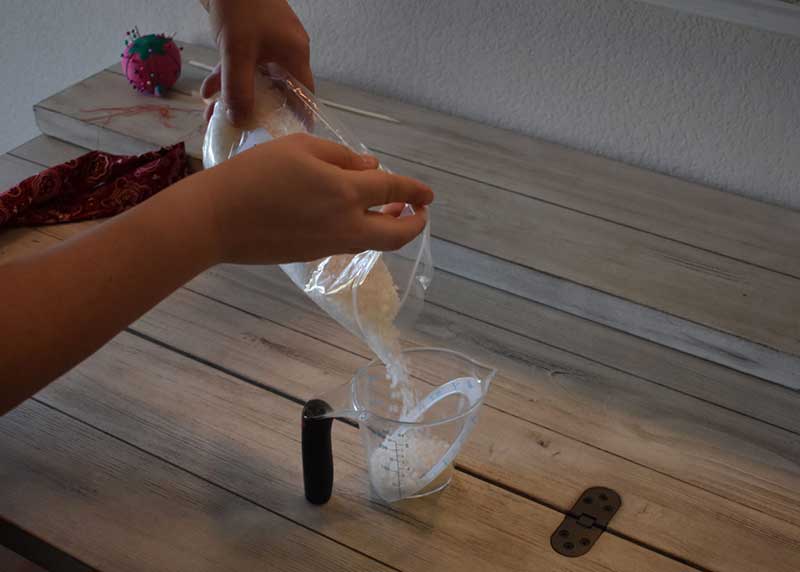
Measure out about 1 cup of water crystals in a measuring cup.
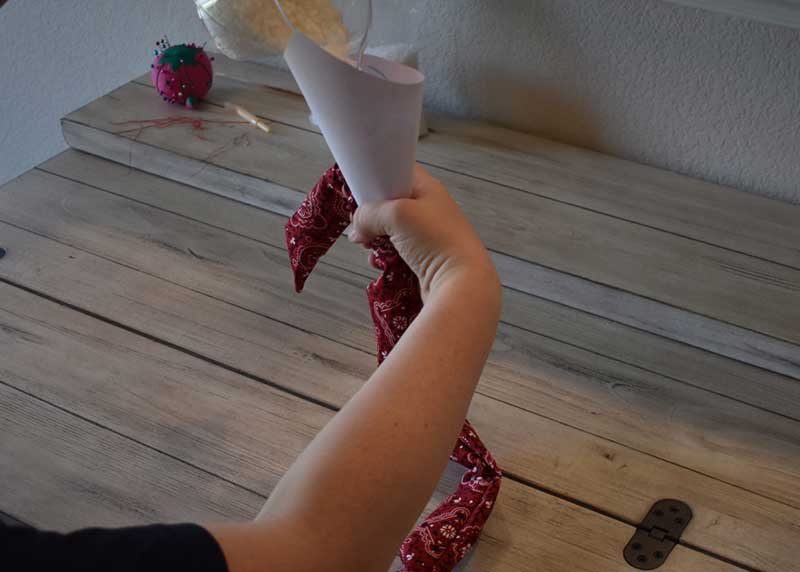
Step 10
Now it's time to pour the water crystals into the neck wrap. You can use a funnel to make this easier (or make one out of paper as I did). You will not need the wrap to be full of water crystals as they swell when submerged in water.
Step 11
Finally, it's time to close up the hole in the center. I have already mentioned I am not an accomplished seamstress but, a simple loop stitch will do the trick. However, if you are better at sewing than I am, a hidden stitch is ideal.
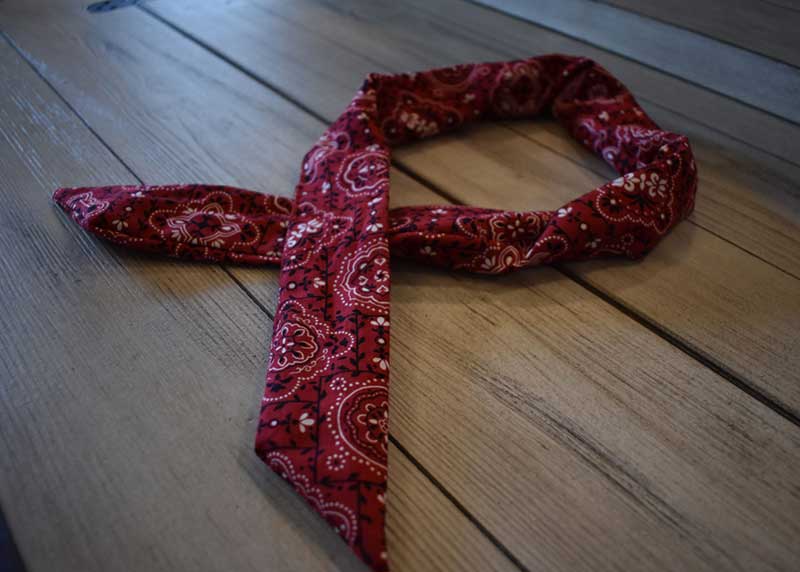
All done!
And that's it! Your neck wrap is complete! All you need to do now is soak it in cold water for a few minutes and it's ready to go.

And here's our little model showing you how it looks. As you can see, it lays on the neck comfortably and is just tight enough with a simple knot.
Now it's your turn to make your very own cooling neck wrap. Personalize it with fabric and colors of your choice!
We'd love to see pictures of your creations! If you post your results on social media, make sure you tag us and use #lscscommunity to see your pictures on our Lone Star Community Page!