Making Soy Candles at Home
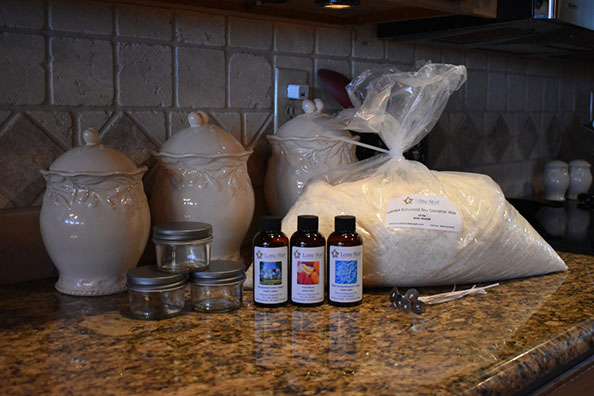
Here's What You'll Need:
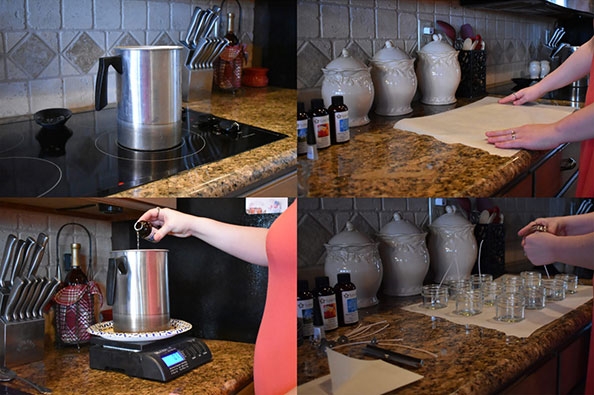
The first thing we did was measure out the wax using a digital scale. The website recommends that you fill the 4 oz jelly jars with 2.19 oz of wax so we multiplied 2.19 x 12 to get a total of 26.28 oz of wax which we then rounded up to 27 oz just to make things easier. It is recommended to use a double-boiler to melt your wax however, we chose not to do that here and put the pouring pot directly on the burner. If you choose to do this please note that you cannot walk away from your wax when you do this. It heats up a little bit faster and you risk scorching the wax if you do not keep an eye on it.
While the wax was melting, we decided to cut a sheet of parchment paper to lay on the counter top to both protect it and make cleanup a little bit easier in case we spilled any wax. We cut enough to spread out the 12 candles so that we would have room to pour each of them easily.
We used a thermometer to check the temperature of the wax to make sure it wasn't heating up too quickly and to make sure it was around 180-185F before we added the fragrance oil to it. We stirred the fragrance into the wax for a few minutes to make sure it had bound together well then we added the desired amount of dye to get the colors we wanted.
While we waited for the wax to cool down to the pouring temperature, we spread out the jars and wicked the containers with the ECO-8 6" wicks and the wick stickers.

Once the wax cooled to about 140F we were ready to pour it into the containers. Slowly and gently we poured the wax into the jars, being careful not to spill any wax. If you can keep a paper towel in your free hand while you are pouring, you can use it to soak up any wax that dribbles down the front of the pouring pot.
As you can see in the picture, we have not set the wicks with any wick bars at this point. We like to wait until after we have filled all of the containers with wax and then go back with the wick bars. This makes it easier to pour into the containers and keeps your wick bars from getting covered with wax!
We repeated this whole process 3 times because we chose to make a dozen candles in each fragrance we had selected. You'll see all three colors of candles that we made in these pictures because we chose to show you what the entire process looked like. We only made 12 at a time but if you have multiple pouring pots you can make more than 12 if you are under a time constraint.
Now all we had to do was let the candles set up so that we could put the finishing touches on them! It is best to let your candles cool COMPLETELY before trying to remove the wick bars or handle the candles. If you remove the wick bars when the wax is still soft, you can create a crater around your wick which doesn't look as pretty in our opinion. Let them cool down to room temperature and you're ready to go!
Once the candles had completely cooled, we removed the wick bars, trimmed the wicks, and screwed the lid on. As you can see here, we transferred the containers back into the cardboard boxes that the jars came in just to make them easy to transport. You can also place your warm jars into the cardboard boxes to help slow the cooling process down. Cardboard is a great insulator and it can really help to take this extra step if you are having any trouble with wet spots on your candles.
We made these candles a week in advance so that they would have plenty of time to cure. By the time we had them unloaded at the baby shower, the cold throw was AMAZING and everyone kept telling us how much they loved their candles!
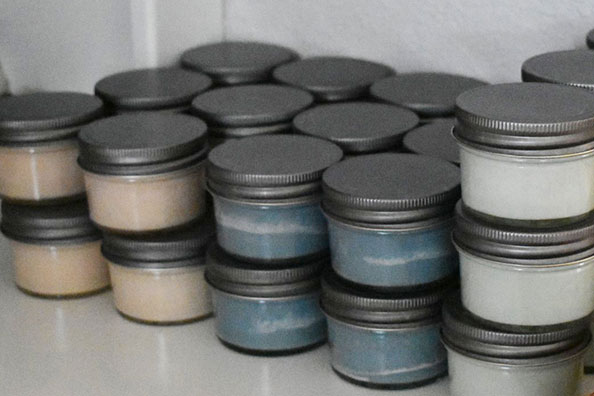
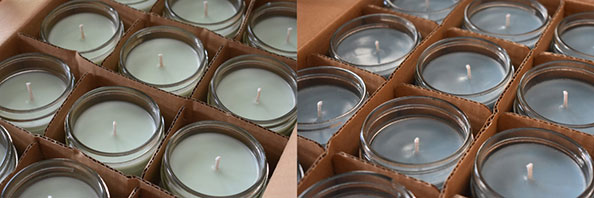
And here is the beautiful finished product!
As you can see, the darker blue candles have a bit of frosting on the outside. This is totally normal, especially when using darker dyes. The frosting is not harmful at all! It is simply the wax drying out a bit which causes the light dusting or "frosted" appearance on the candle. Unfortunately, there isn't a whole lot you can do to avoid this other than adding a tablespoon of cold-pressed coconut oil to 1 pound of wax, which can help add moisture back into your wax.
We were extremely happy with the end result! The colors are subtle but they matched the baby shower invitations perfectly. The momma-to-be was so grateful that we had taken the time to make these hand-poured candles for all of our guests. Everyone was thrilled to be taking home a candle with the fragrance of their choice and everyone kept asking me how we made them!
So there you have it! As you can see, candle-making can be done in your home as long as you stay organized and take the steps to keep everything clean. We were able to make all 36 of these candles within 1 afternoon and they were ready to box up and set to the side to cure later that evening. If you are trying to decide if you should make your own candles or start a small candle/home fragrance business and run it out of your home, go ahead and take that leap and get started today!