
Votives are small molded candles made for holders, and a pound of wax turns into about eight of them. They teach every molding skill, including pouring, managing shrinkage, second pours, and release, without requiring a large amount of wax. That also makes them the most affordable way to test a new fragrance across an entire batch of candles. The wax prep is the universal sequence from How to Prepare Wax for Pouring; this guide covers what's specific to votive molds.
What You'll Need
What You'll Need
Check items off as you gather them
Supplies
-
Votive Wax a votive blend such as IGI 4794: rigid enough to unmold, made to liquefy in the holder
-
Pre-Tabbed Votive Wicks from candle wicks
-
Fragrance Oil over 275 fragrance oils; votive loads typically run 0.5 up to 1 ounce per pound
-
Caution Labels caution labels for each votive or its packaging
Tools & Equipment
-
Votive Molds metal votive molds release cleanly and last for years
-
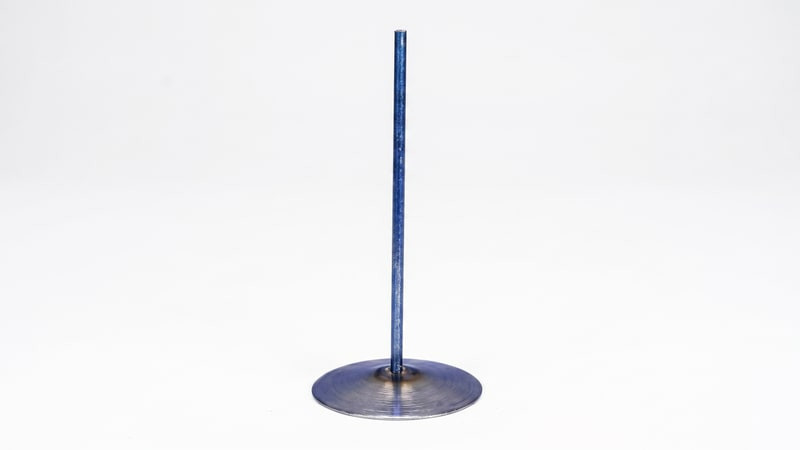
Auto Wick Pins optional wick pins form a perfect center hole (see How to Prepare a Mold With a Wick Pin)
-
Mold Cleaner mold cleaner preps new molds and strips wax film from used ones
-
Pouring Pot, Thermometer, Scale the prep trio from How to Prepare Wax for Pouring
-
Utility Knife scores the brittle votive slabs for snapping
Skip ahead to the step-by-step guide
Votives Are Not Small Pillars
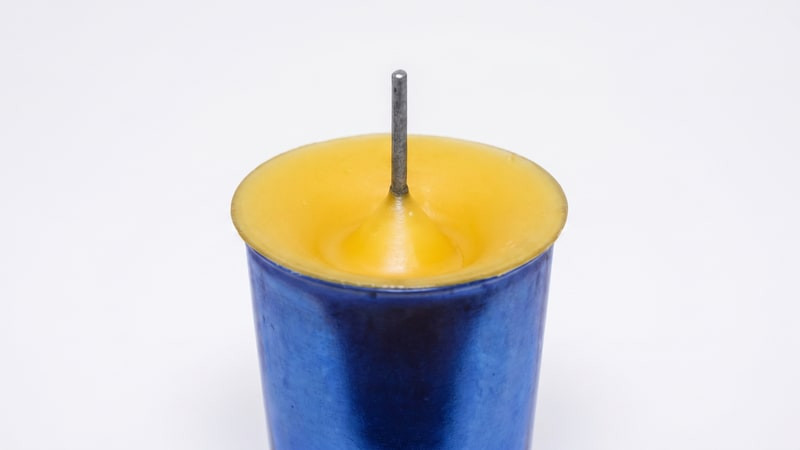
The two look related, but a votive is designed around its holder. A pillar must stay rigid as it burns; a votive is supposed to liquefy almost completely, with the holder containing the pool that feeds the flame. That's why votive wax sits between container and pillar blends in hardness, and why a votive burned outside a holder fails: the wax escapes and starves the flame. The molds reflect the difference too: simple open metal cups, no base hole to seal, no mold putty involved.
The Step-by-Step Process
How to Make Votive Candles
-
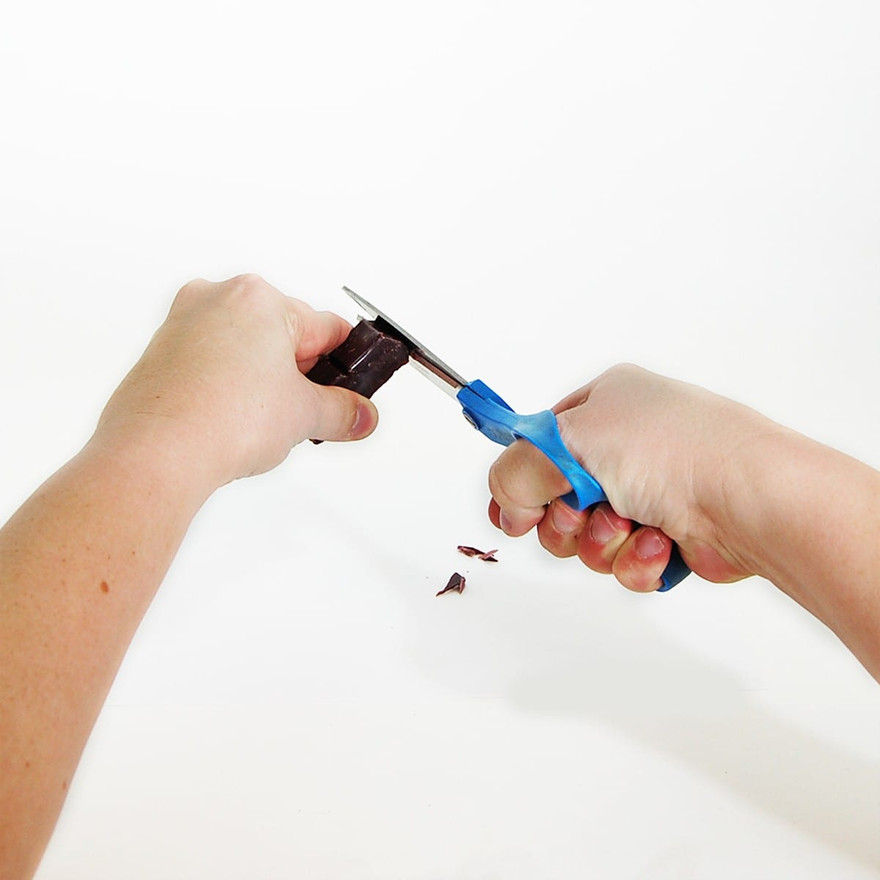
1
Weigh the wax
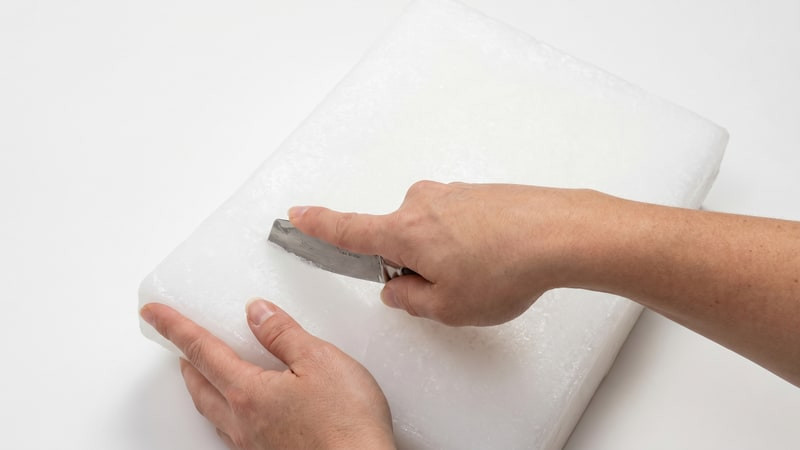
Plan on about eight votives per pound. Votive slabs are brittle: score with a utility knife, snap over a table edge, and weigh the pieces in your pouring pot.
-
2
Melt in a double boiler
An inch of simmering water, trivet under the pot, medium-low heat to 175°F to 185°F depending on your wax. Stay with the pot; melting wax is never left unattended[1].

-
3
Clean and arrange the molds
Wipe each mold's interior with mold cleaner on a paper towel. If you're using auto wick pins, straighten any bent pin and set one in each mold. Line the molds up in a single row near the edge of the workspace so every pour is an easy reach.
-
4
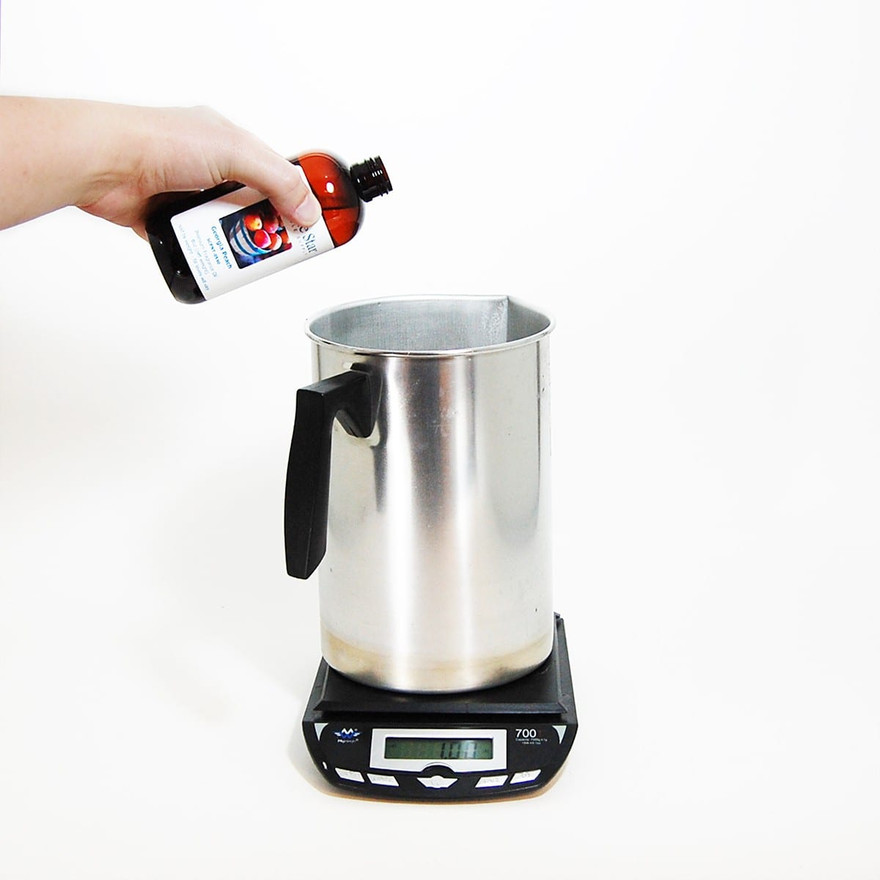
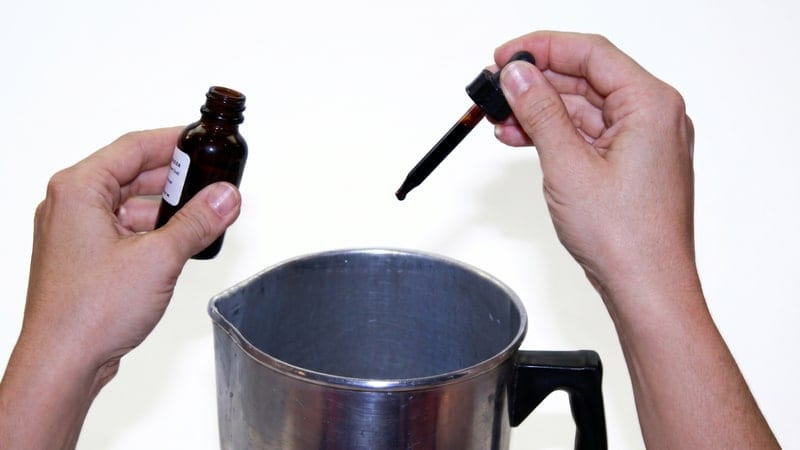
Add fragrance at 180°F
Weigh the oil (0.5 up to 1 ounce per pound for most votive waxes) and stir for two to three minutes until fully blended. Adding fragrance above its flash point is safe; the precaution that matters is keeping oil away from open flame[2].
-
5
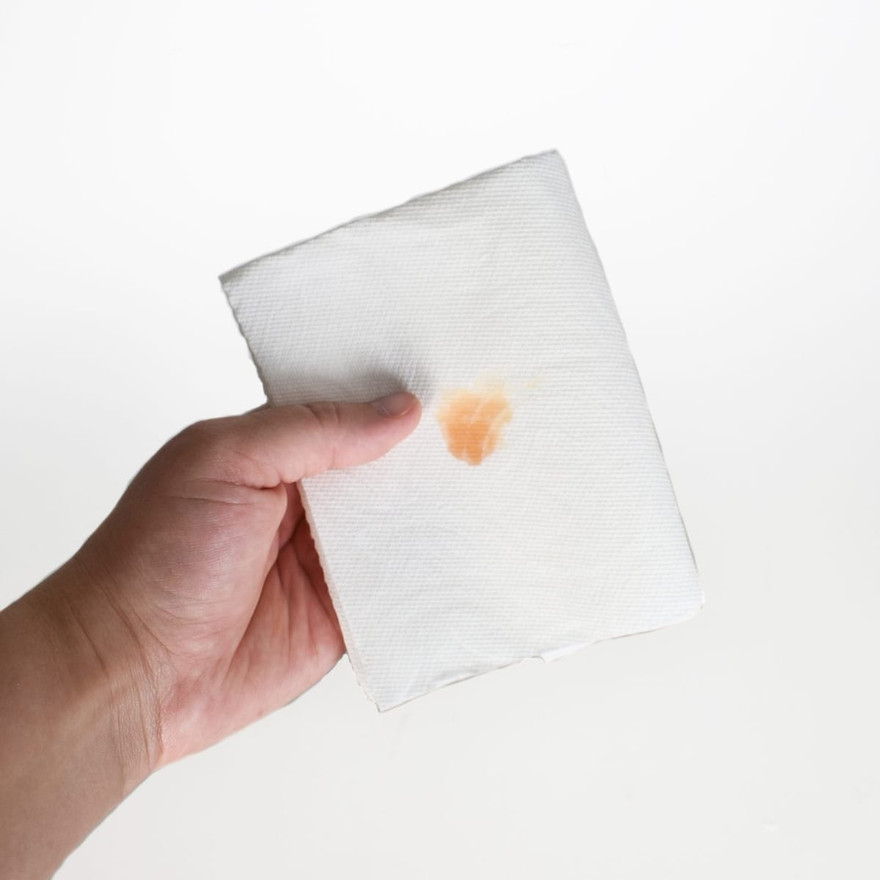
Color, test, stabilize
Drip-test on a paper plate to preview the cured shade, and stir in UV stabilizer if the candles will live near light.
Liquid Dye
Add drop by drop; start light, especially for pale shades.
-
6
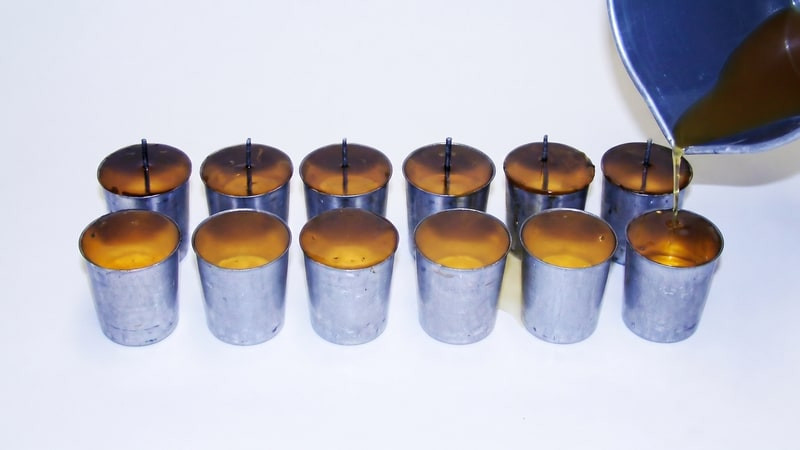
Pour level with the rims
Fill each mold to the top, slowly enough that no bubbles form. Keep wax in reserve; every votive gets a second pour.
-
7
Insert wicks as the wax sets (no pins)
When wax starts firming up around the mold edges, push a pre-tabbed wick down through the center until the tab seats on the bottom. As the wax shrinks it may tug the wick downward; a gentle upward straighten fixes it.
-
8
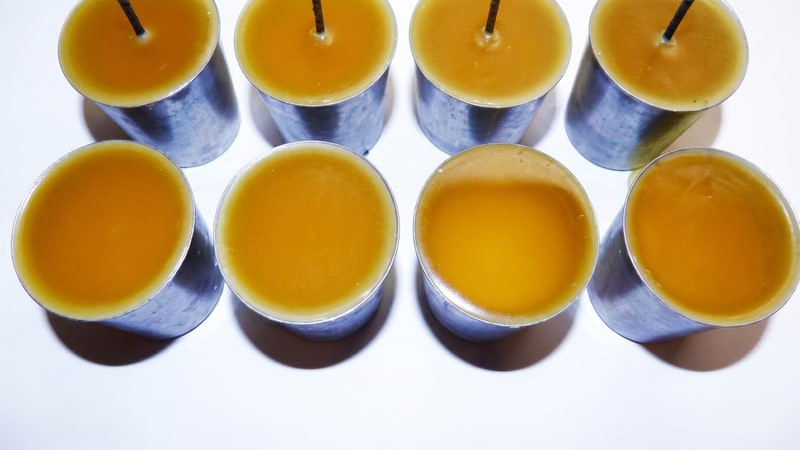
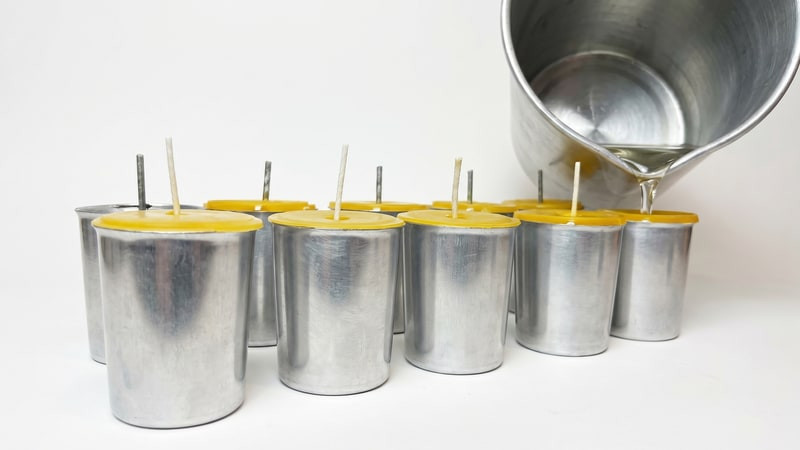
Second pour, hotter
Fully set votives show a sinkhole from shrink. Reheat the reserve wax to about 190°F (the hotter pour fuses cleanly with the first) and fill each mold to just above its rim edge. You can fill slightly past the rim using surface tension; just keep the pouring pot from touching the edge and breaking the seal.
-
9
Release
Once completely cool, votives slide out with a pull on the wick or pin. A stubborn one gets 5 minutes in the freezer, repeated once at most; longer chills can crack the wax.
-
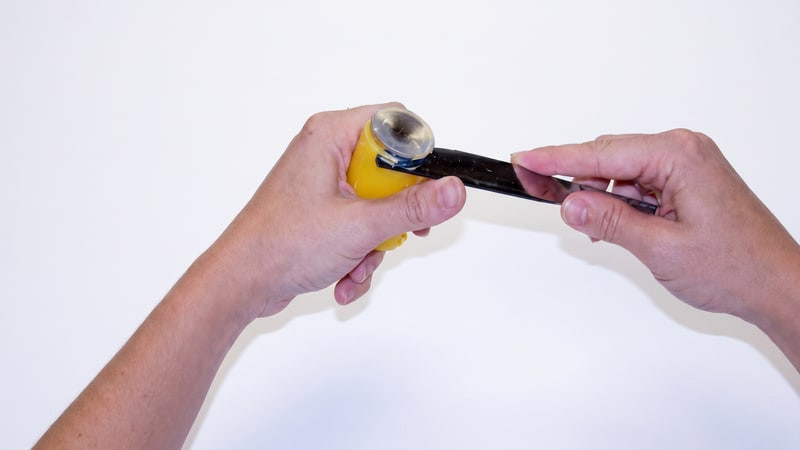
10
Swap pins for wicks and finish
Tap each wick pin out against a surface that can take it, press a tabbed wick into the hole, and trim to a quarter inch. Add a caution label to each votive or its packaging[1].
Burning and Selling Votives
Cure votives about a week before the first burn so the wax binds the fragrance, and always burn them in a holder that fits closely; a votive's melt pool is the fuel system, and a loose or absent holder spills it. If you sell them, label each votive or its packaging with a caution label, and tell customers the holder rule; it's the difference between a votive burning for hours and starving in twenty minutes. For a full comparison of votive, pillar, and specialty molds, see Different Types of Candle Molds for Candle Making.