How to Decorate a Jar Using Ribbon
Start by gathering all the items that you will need. The process will go much more smoothly if everything is readily accessible.

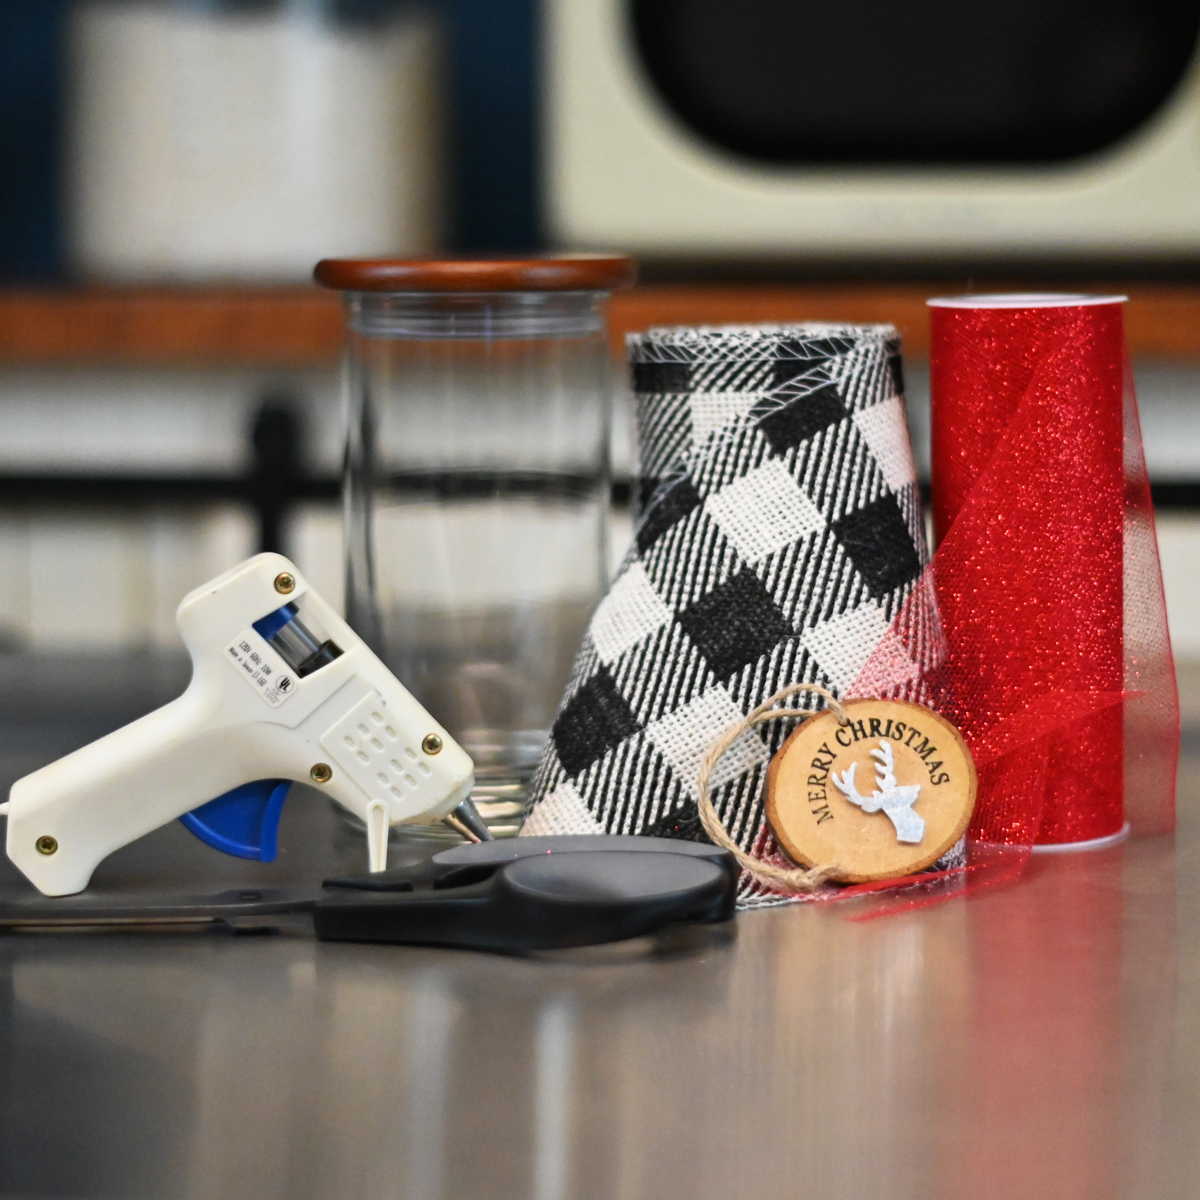
Here's What You'll Need:
Adding a decorative band of ribbon to a container is a fantastic way to add interest without adding much expense. There are many different alternatives available in ribbons. Burlap, lace, grosgrain, tulle, and satin are a few of the materials the ribbon could be made of, not to mention the endless colors available. Ribbon can be added alone or a small embellishment can be added to help hide the seam. The possibilities are endless!
Step 1
Start by gathering your supplies to make sure everything is readily accessible.
Step 2
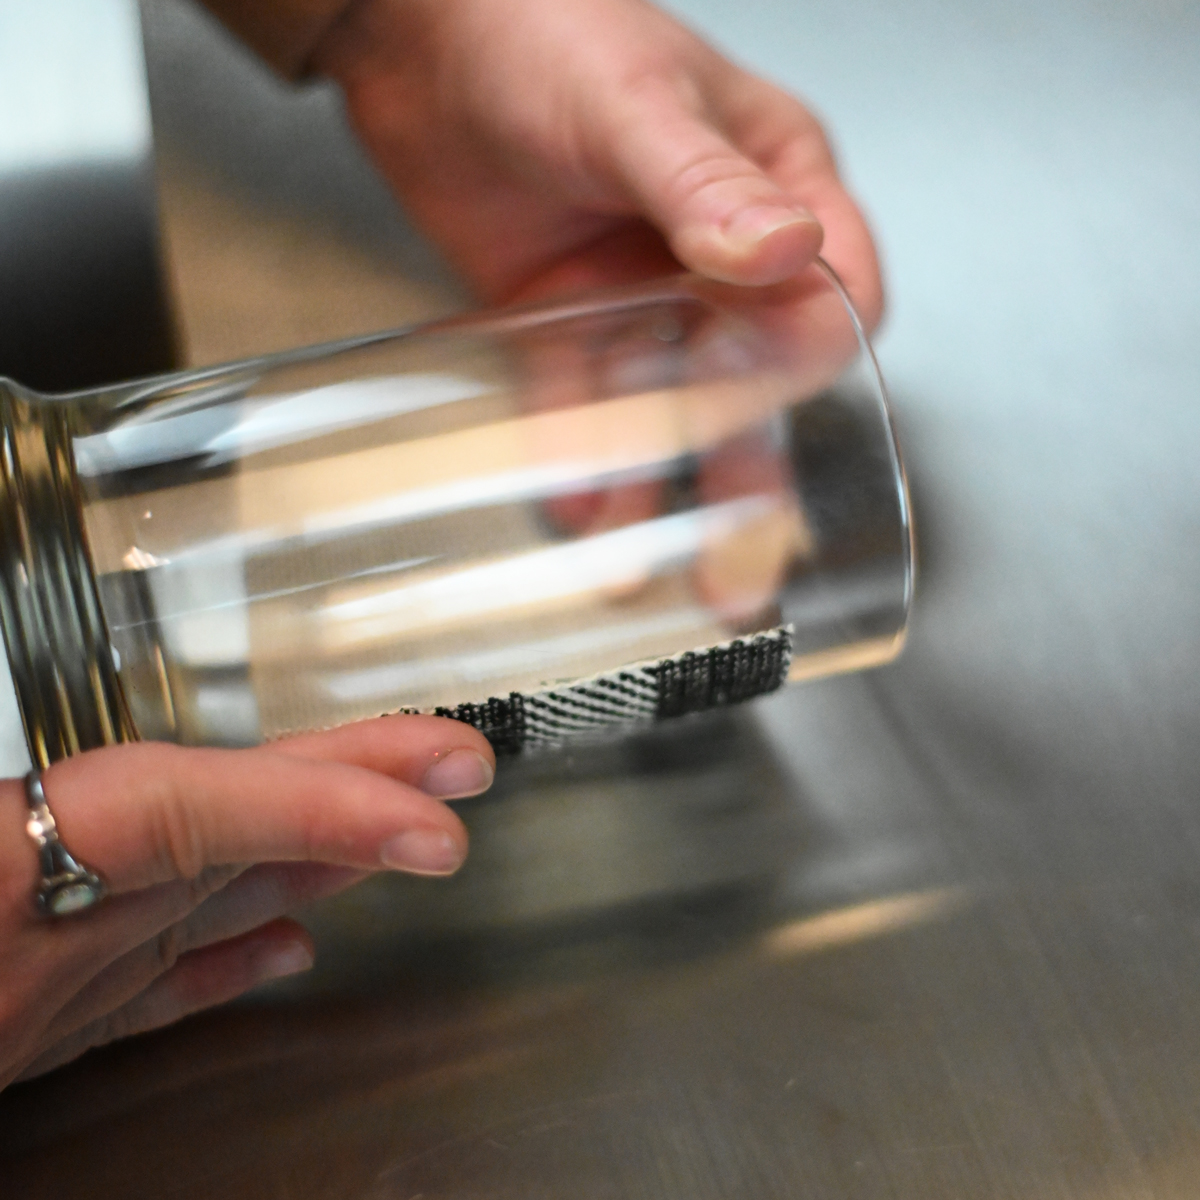
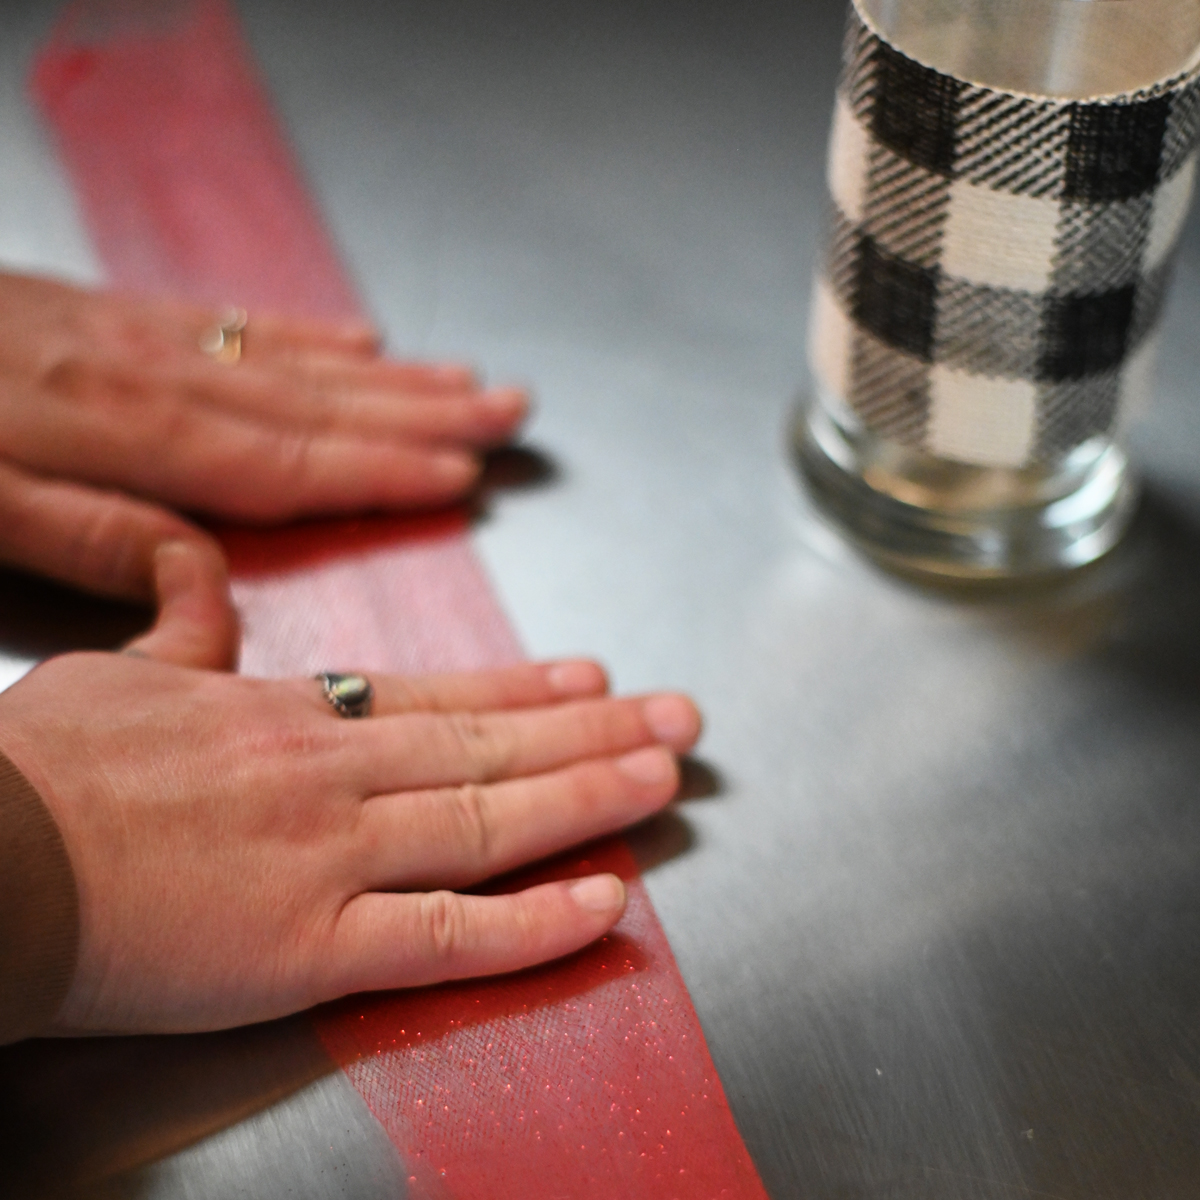
Wrap the ribbon around the container and cut it to the proper length. It can overlap slightly or perfectly line up with the other end. Note: For this container we cut the plaid ribbon to 13" long & 4" wide.
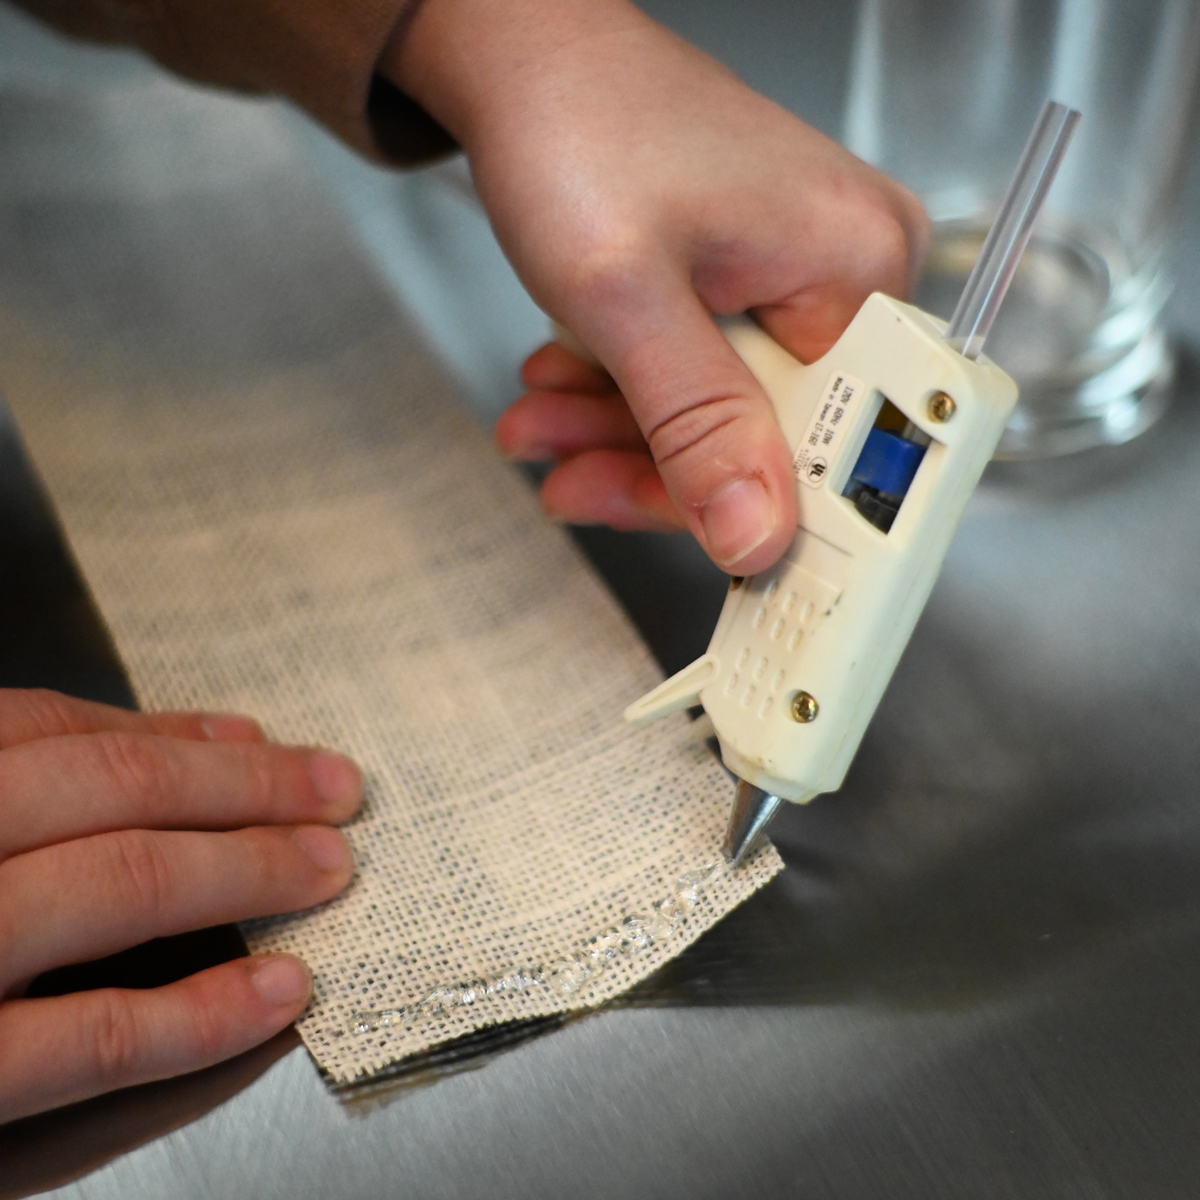
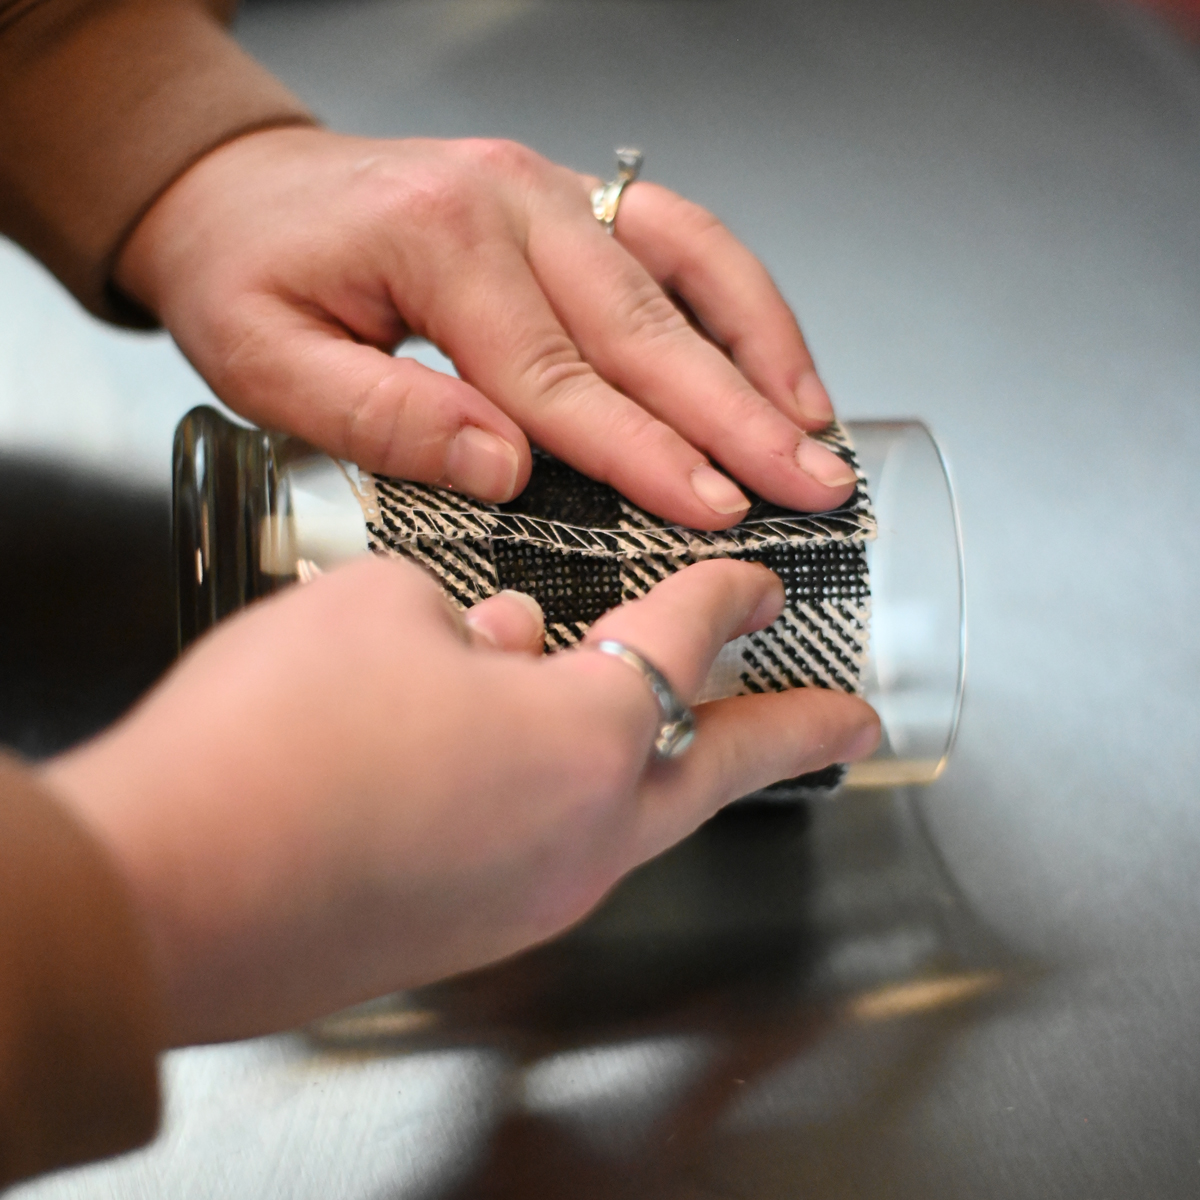
Use a dot of hot glue to adhere the edge of the ribbon to the container. If you are using a wide ribbon, use several small dots or a line to make sure it holds properly. Center it if you would like, but the placement of the ribbon can be wherever you choose. Press & hold until the glue is cool so it adheres completely.
Note: Be careful not to burn your finger when placing the ribbon. Use the tip of an unsharpened pencil, a skewer or toothpick to keep your skin out of harms way.

Step 3
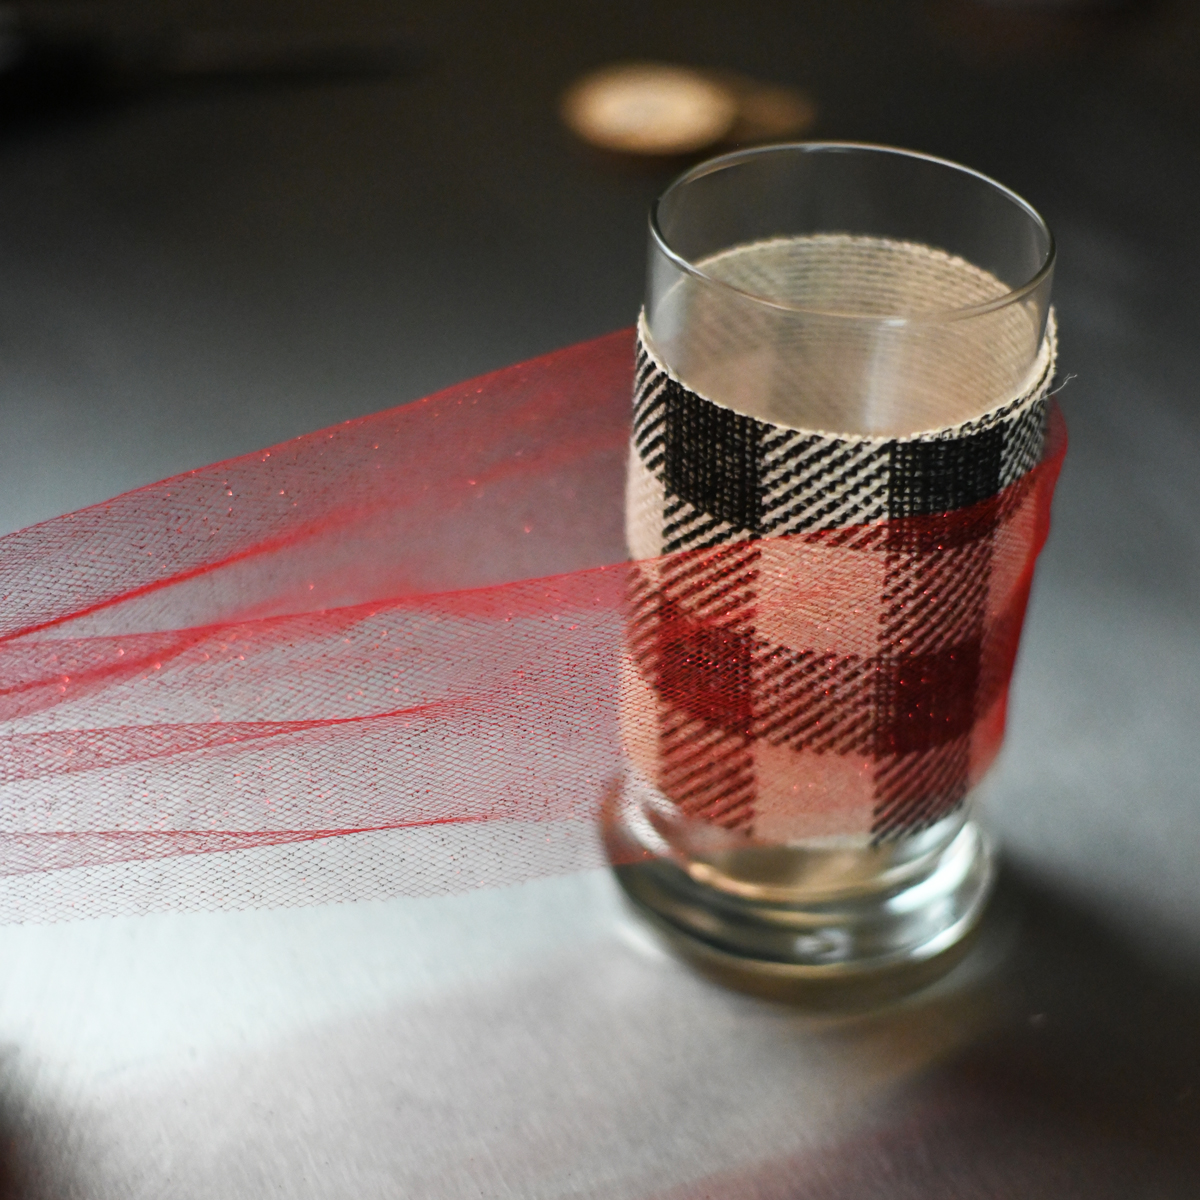
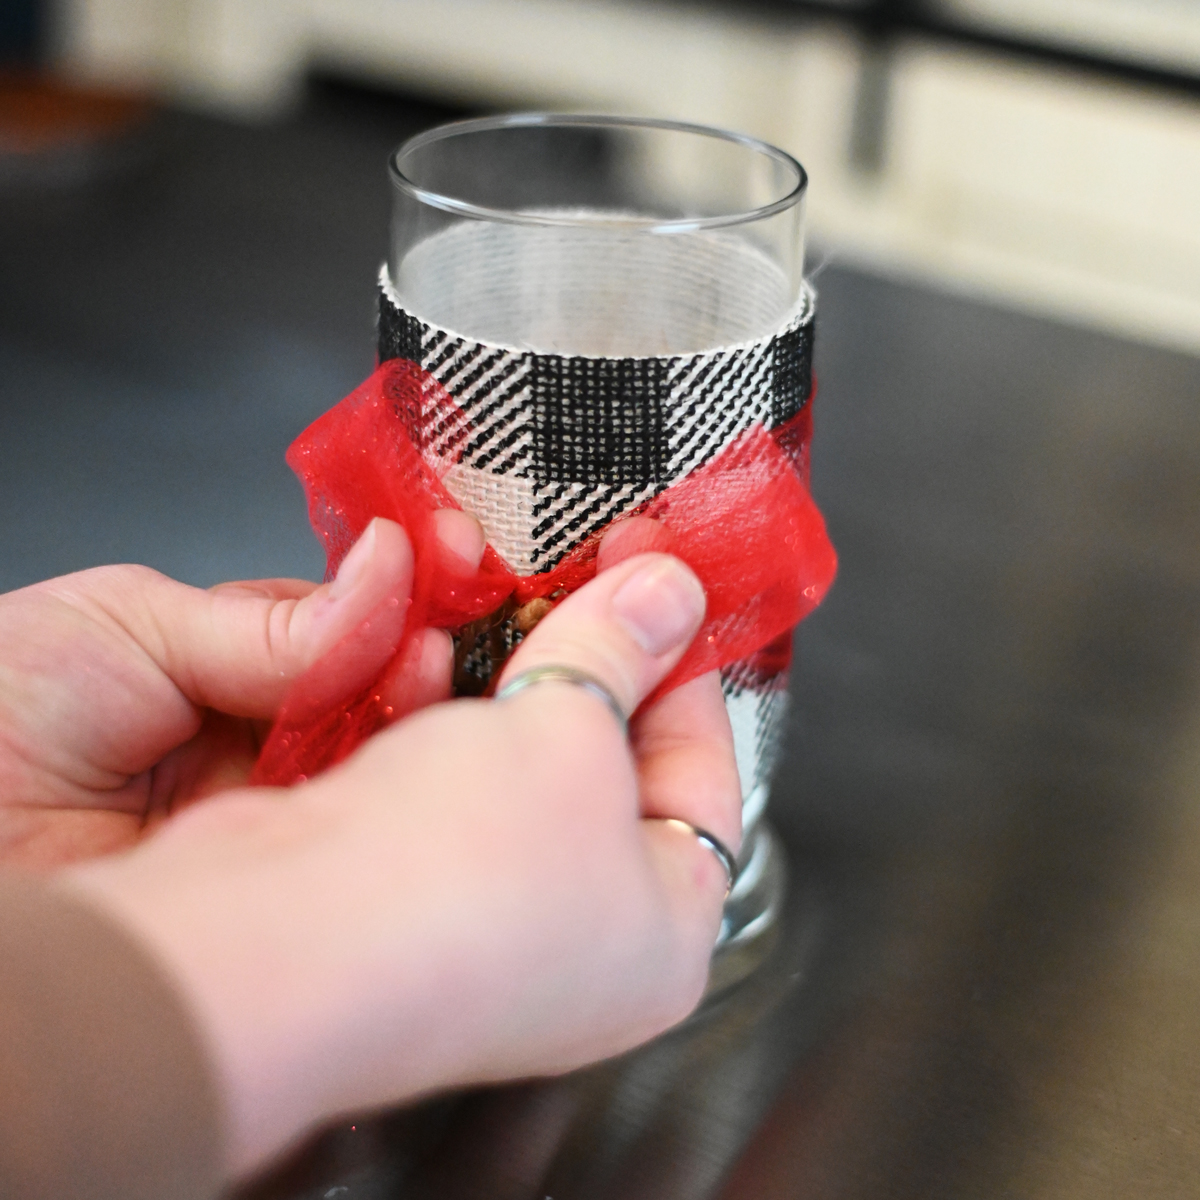
Wrap the ribbon around the container and cut it to the proper length. You will need extra length to create the bow. Note: For this container we cut the red tulle to 25" long.
Next - Fold tulle in half and wrap around the container.
Step 4
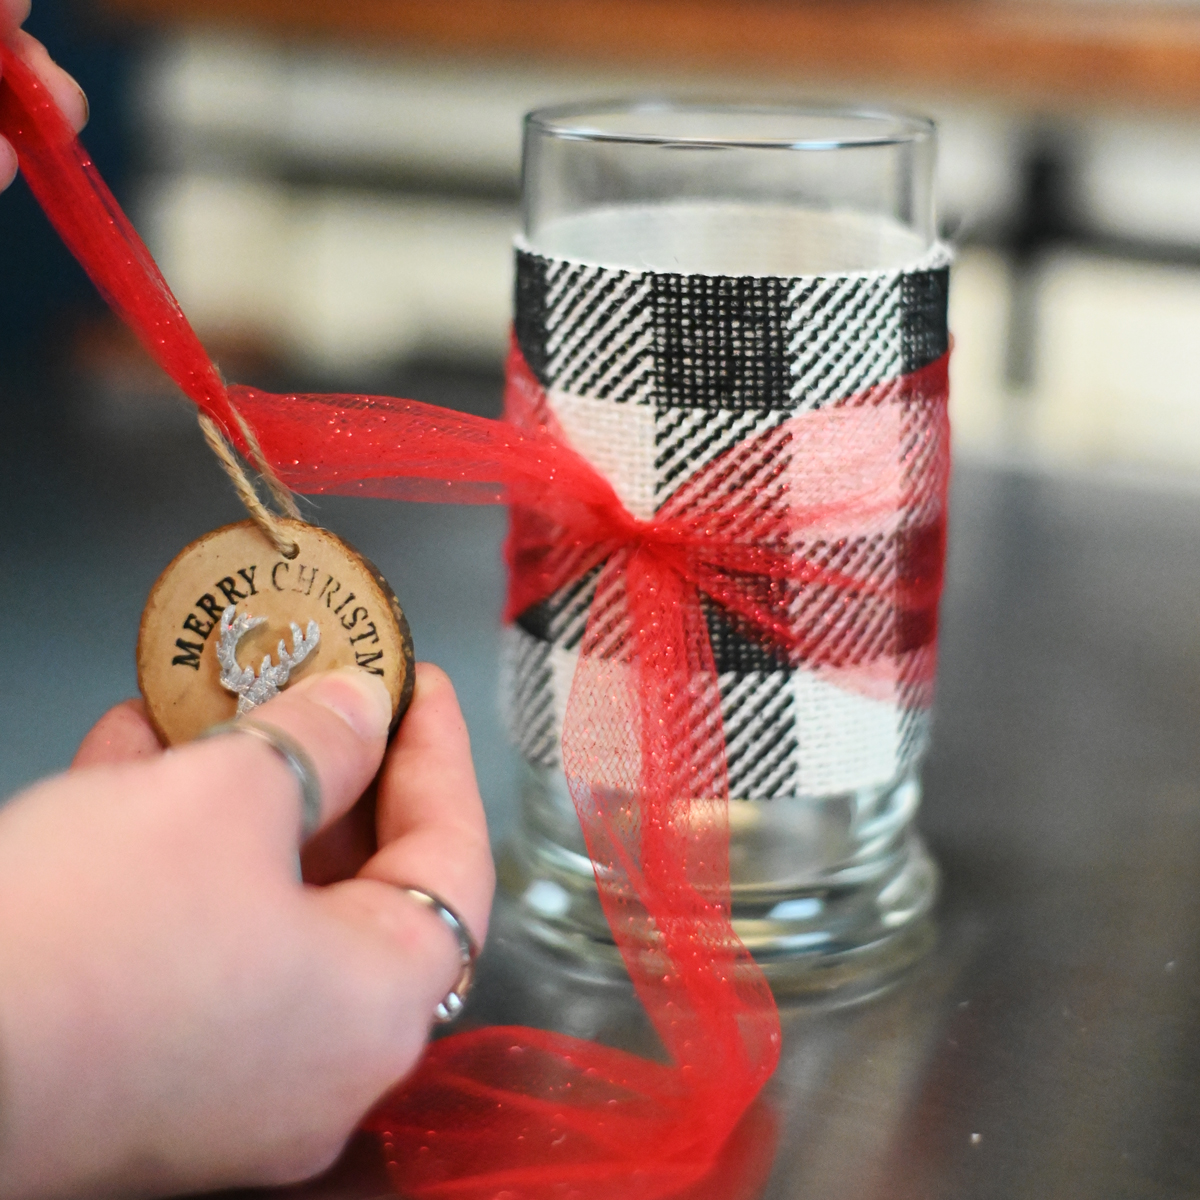
Make your first knot to your bow & add embelishment to secure it.
Note: If you don't have an embellishment continue to make your bow.

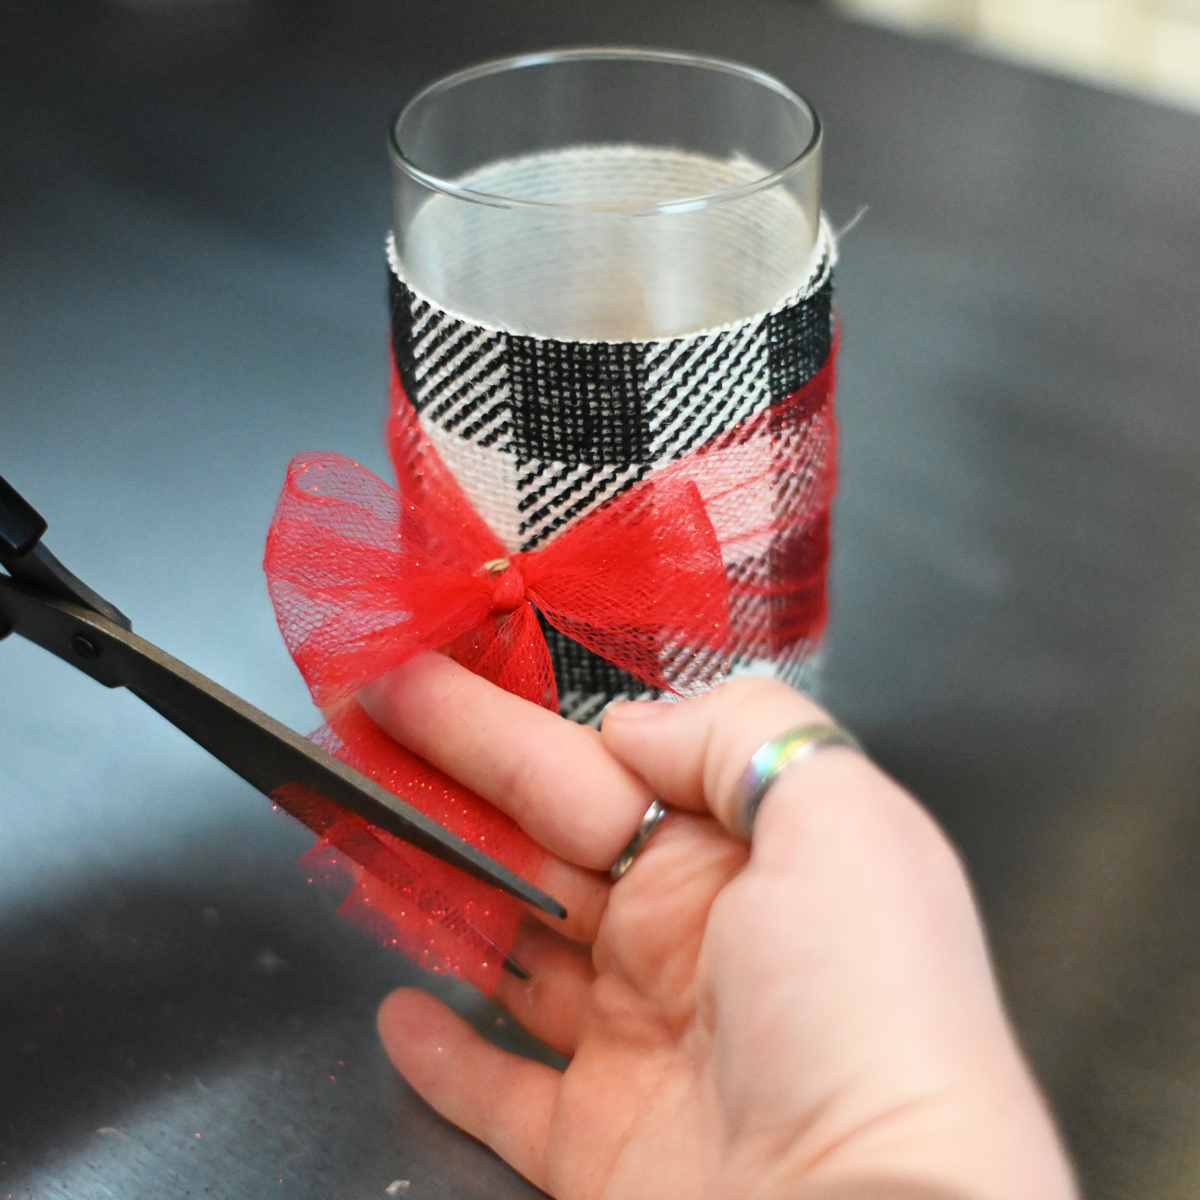
Step 5
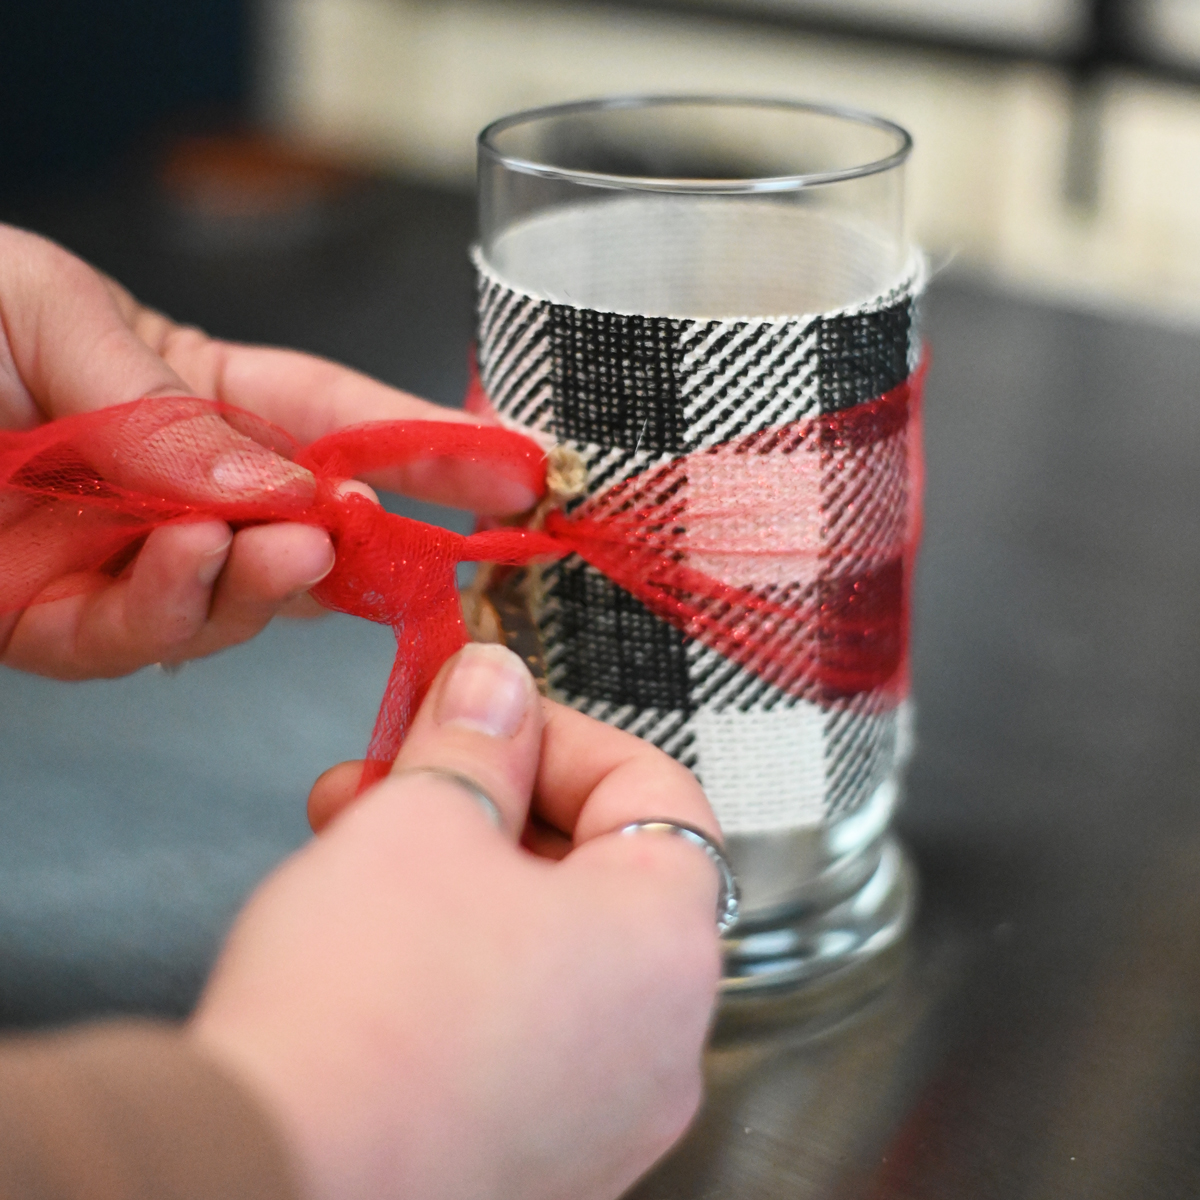
Adjust & trim your bow as needed and to your liking!
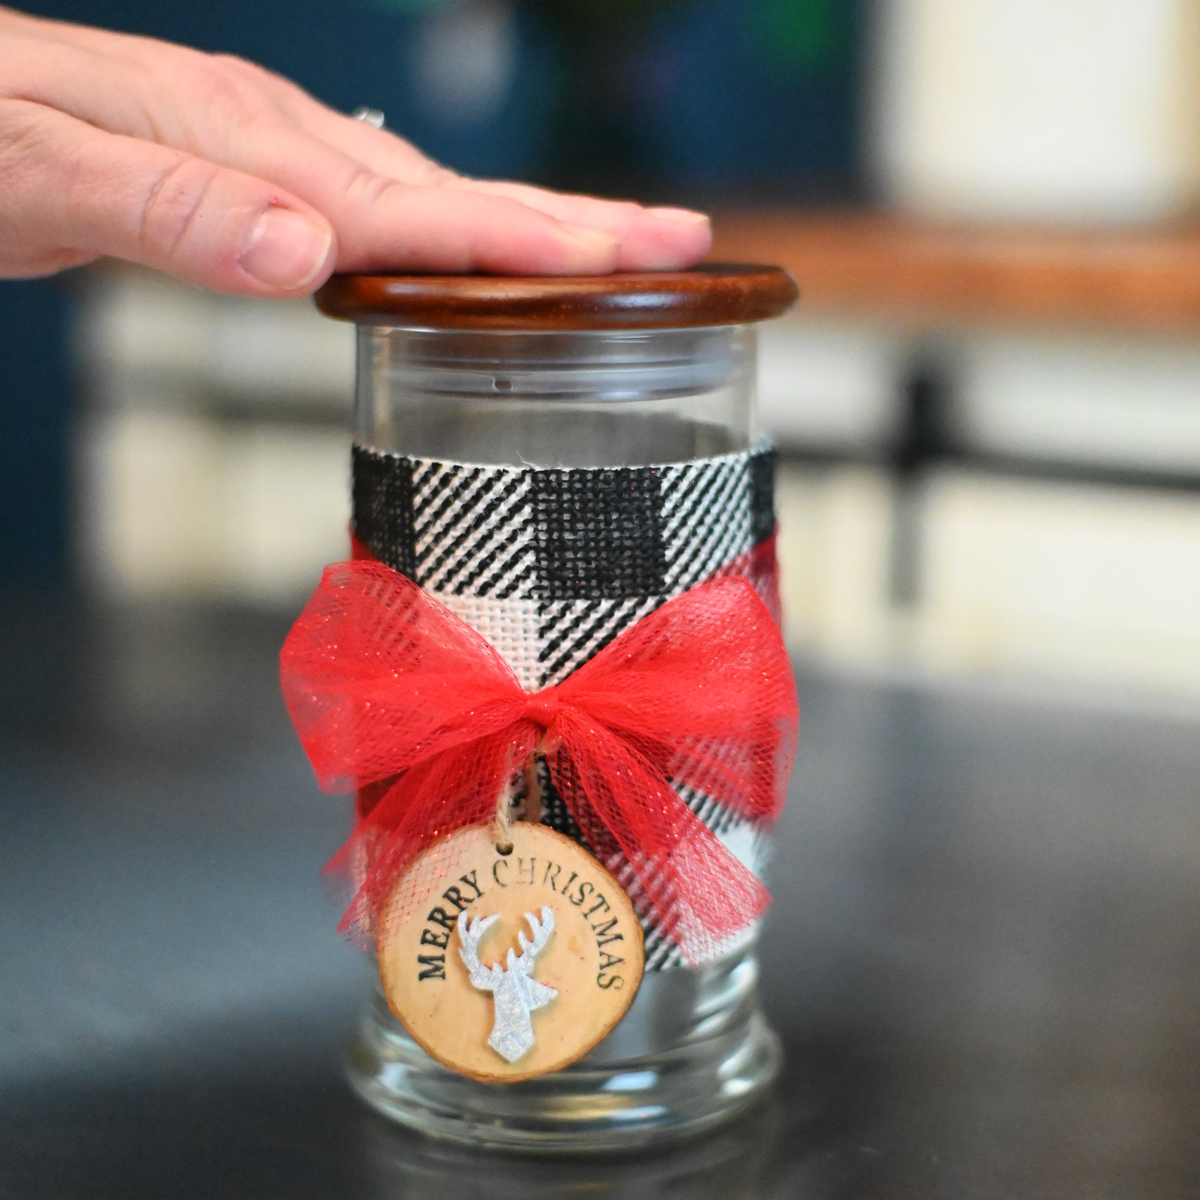
That's it!
Congrats! You now have a cute Christmas container to decorate with however you choose!
NOTE: Make sure to keep any flammable materials, like fabric or artificial flowers, on the outside of the container. Having these items too close to the wick can be a fire hazard.
We want to see you try this project! Tag us if you share your creations on your social media accounts! You can use the hashtag #lonestarcommunity and see your beautiful creations on our Lone Star Community Page.