
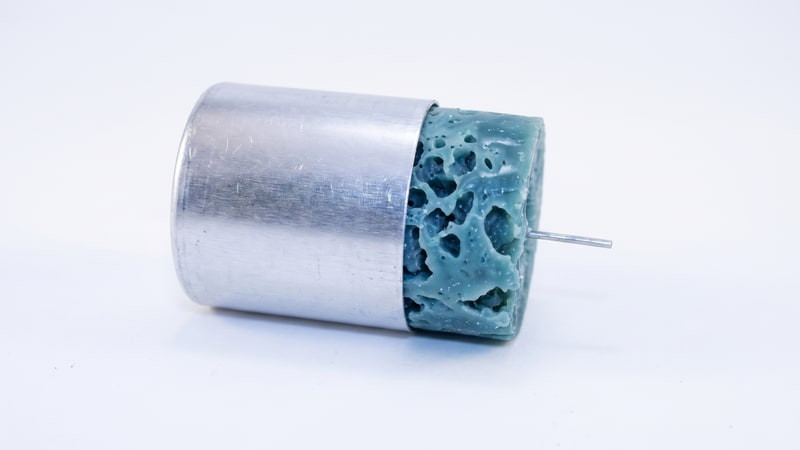
An ice candle is a pillar poured over chunks of ice. The hot wax sets around the ice, the ice melts and drains away, and what is left is a lacy honeycomb of cavities that no two candles ever share. Use the same color and fragrance twice and you still get two different candles, because the ice packs differently every time. The intricate patterns develop as a result of two things: the size of the chunks of ice used and the hot wax setting almost instantly as it comes in contact with them.
What You'll Need
What You'll Need
Check items off as you gather them
Supplies
-
Pillar Paraffin Wax a hard, high-melt blend such as IGI 4625; browse paraffin wax for the full range
-
Candle Mold a metal pillar mold; see How to Make Pillar Candles for more on working with pillar molds
-
Wicking candle wicks, sized to the mold diameter
-
Fragrance Oil over 275 fragrance oils to choose from at fragrance oils
-
Caution Labels caution labels if you plan to sell the finished candle
Tools & Equipment
-
Crushed Ice chunks around three-quarters of an inch
-
Mold Putty to seal the wick hole in the mold base
-
Wick Bar a Wick Bar holds the wick centered at the top
-
Cookie Sheet or Pan under the mold to catch a leak and to catch draining water
-
Utility Knife to score the wax slab for snapping
-
Wick Trimmers or scissors to trim the finished wick
-
Pouring Pot, Thermometer, Scale the prep trio from How to Prepare Wax for Pouring
Skip ahead to the step-by-step guide
Why Paraffin, Not Soy
Ice candles require a precise paraffin technique, meaning your wax choice is not interchangeable. You must pour the wax hot, between 175°F and 185°F, directly into a mold packed with ice. A hard pillar paraffin has a high melting point; though it solidifies soon after touching the ice, it holds its structural shape perfectly to carve out those crisp, lacy walls. In contrast, a soft, low-melt blend like soy wax chills instantly upon contact, seizing into a cloudy, mushy mess that completely loses the honeycomb design. Many soy pillar blends are also more brittle, which can leave the finished honeycomb prone to cracking.
Reach for a pillar blend such as IGI 4625. If you are deciding between paraffin grades, paraffin wax guide walks through how melt point and hardness read on the product page, and the broader candle wax shows where pillar paraffin sits next to the container waxes. The technique itself is the standard pillar process from How to Make Pillar Candles, with crushed ice standing in for a smooth pour.
The Step-by-Step Process
Cover the workspace with butcher paper or newspaper first; drips are part of the job, and they peel off paper far easier than they scrape off a counter.
How to Make Ice Candles
-
1
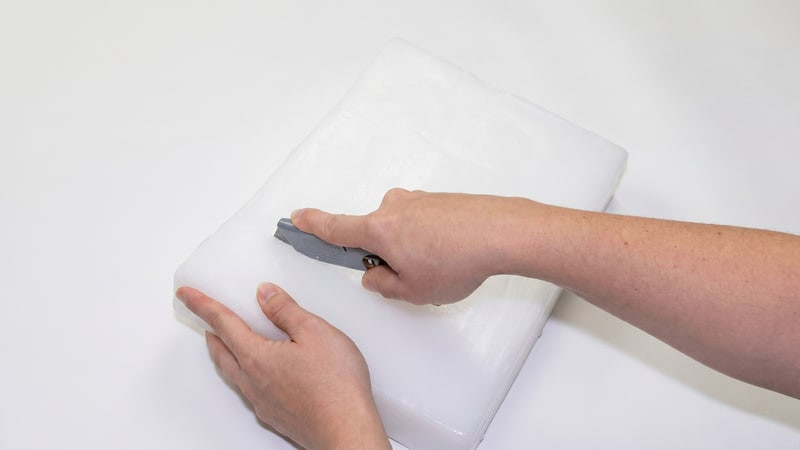
Weigh and cut the wax
Pillar slabs are hard. Score the slab with a utility knife, rest the score over a table edge, and press to snap it into pot-sized pieces. Check the mold's product page for its standard wax capacity and weigh your wax to match. Keep in mind that you will not actually need that entire amount; because the ice occupies so much room inside the mold, expect to have some wax left over.
-
2
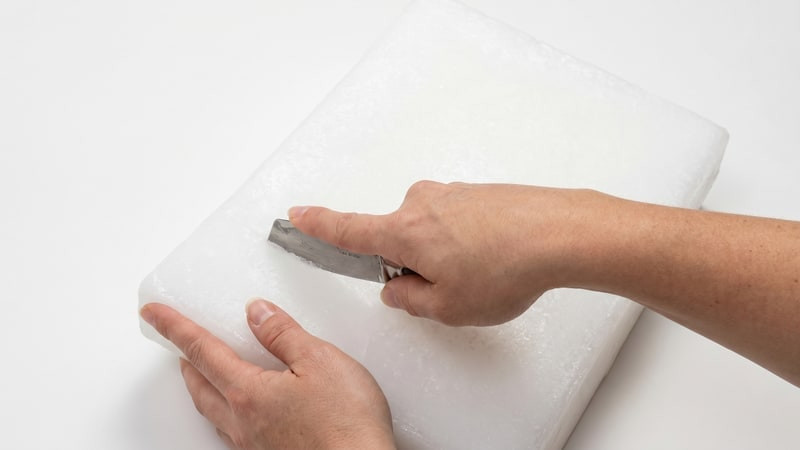
Snap the slab down to size
Keep breaking the scored wax until the pieces fit your pouring pot. Mind your fingers on the snap, and weigh the wax right in the pot so you skip a transfer.
-
3
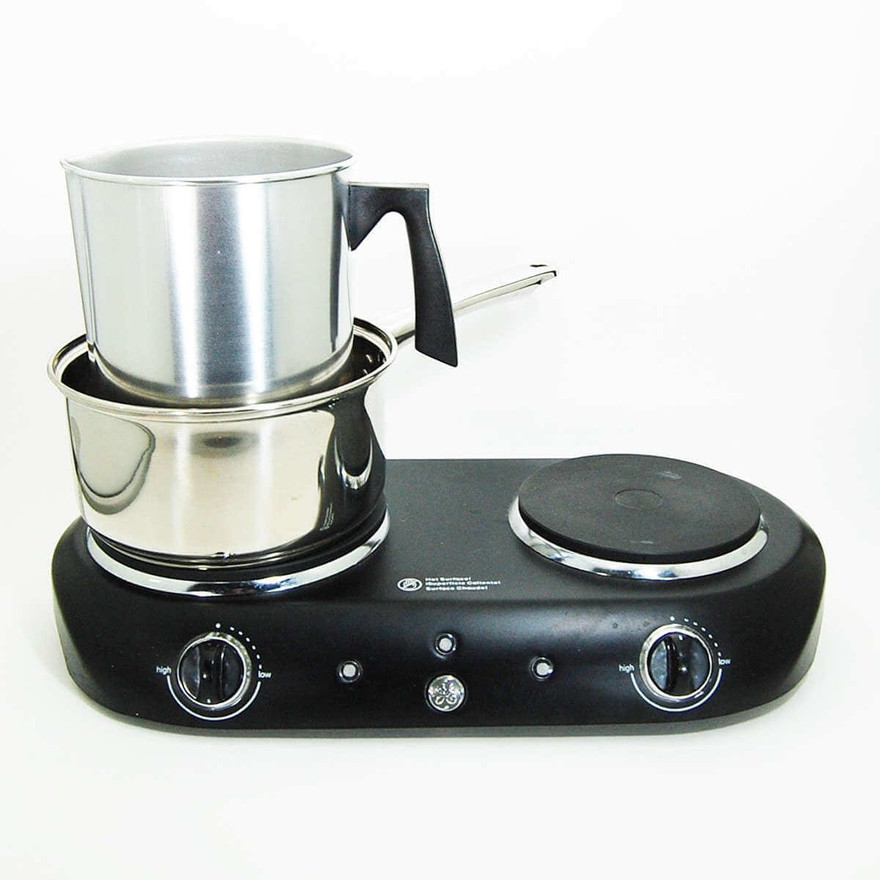
Melt the wax
Use a double boiler or a wax melter. For the double boiler, set the pouring pot in an inch of simmering water with a trivet underneath so no side takes direct heat. Hold medium-low and bring the wax to 175°F to 185°F depending on your blend. Keep a thermometer in the wax and never leave it unattended[1].
-
4
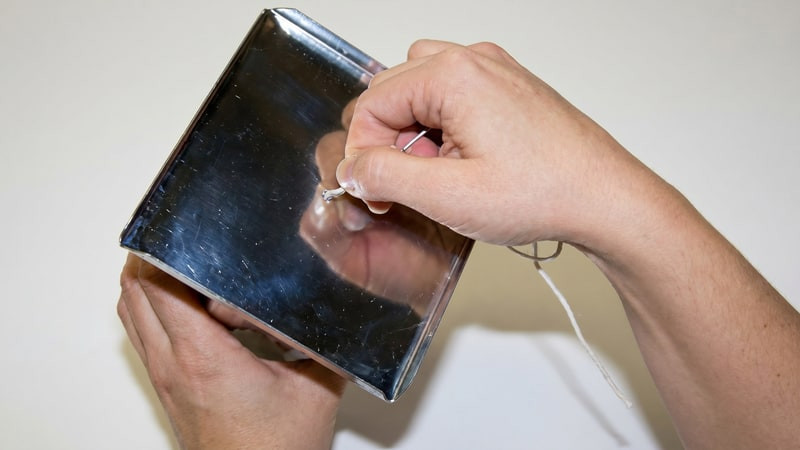
Wick and seal the mold
Thread wicking through the base hole, anchor it at the top with a wick bar, and press a ball of mold putty over the base hole so the seal holds against the pour. Set the mold on a cookie sheet to catch any leak.
-
5
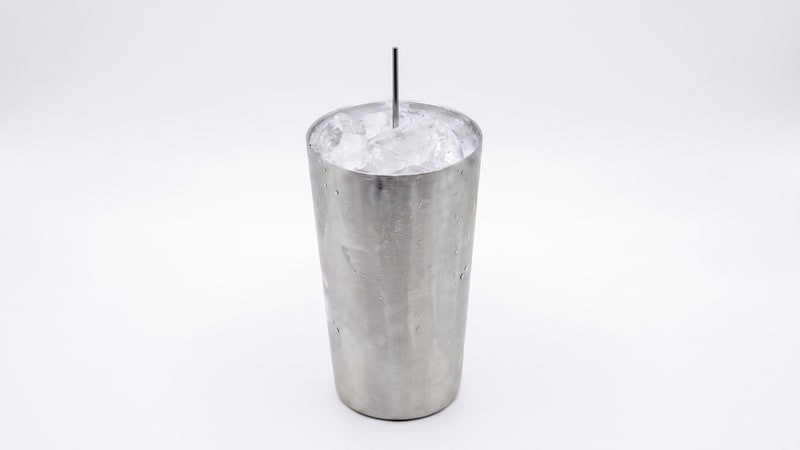
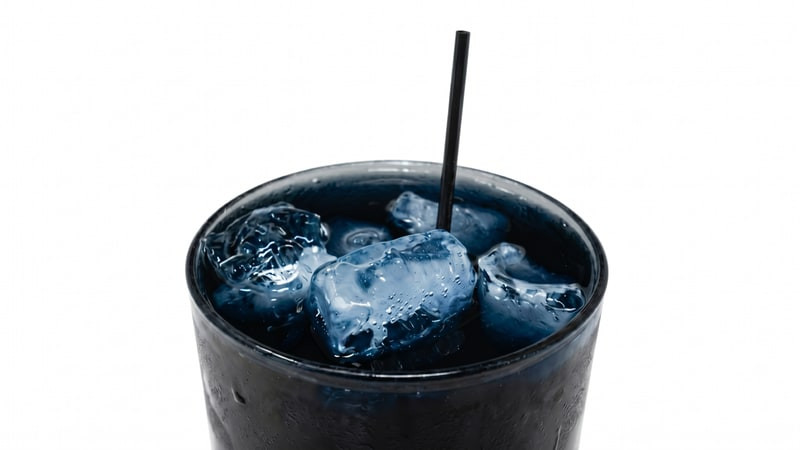
Pack the mold with crushed ice
Fill the mold completely with crushed ice around the centered wick. Aim for chunks about three-quarters of an inch; the ice carves the holes, so smaller ice gives a finer lace and large ice leaves gaping voids.
-
6
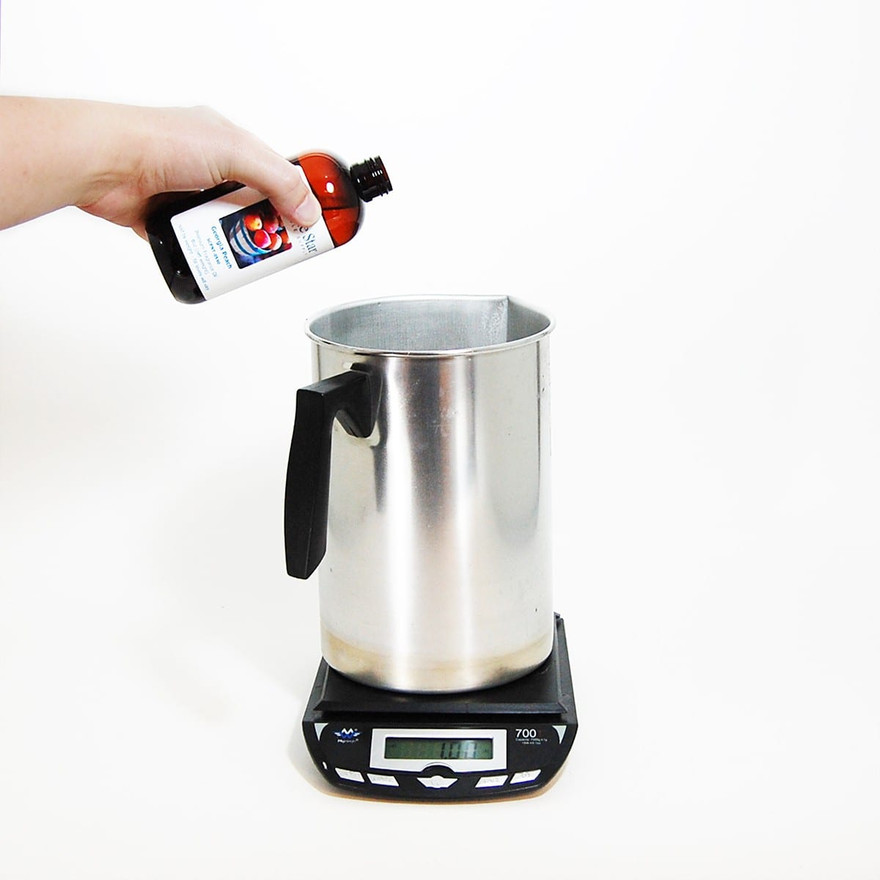
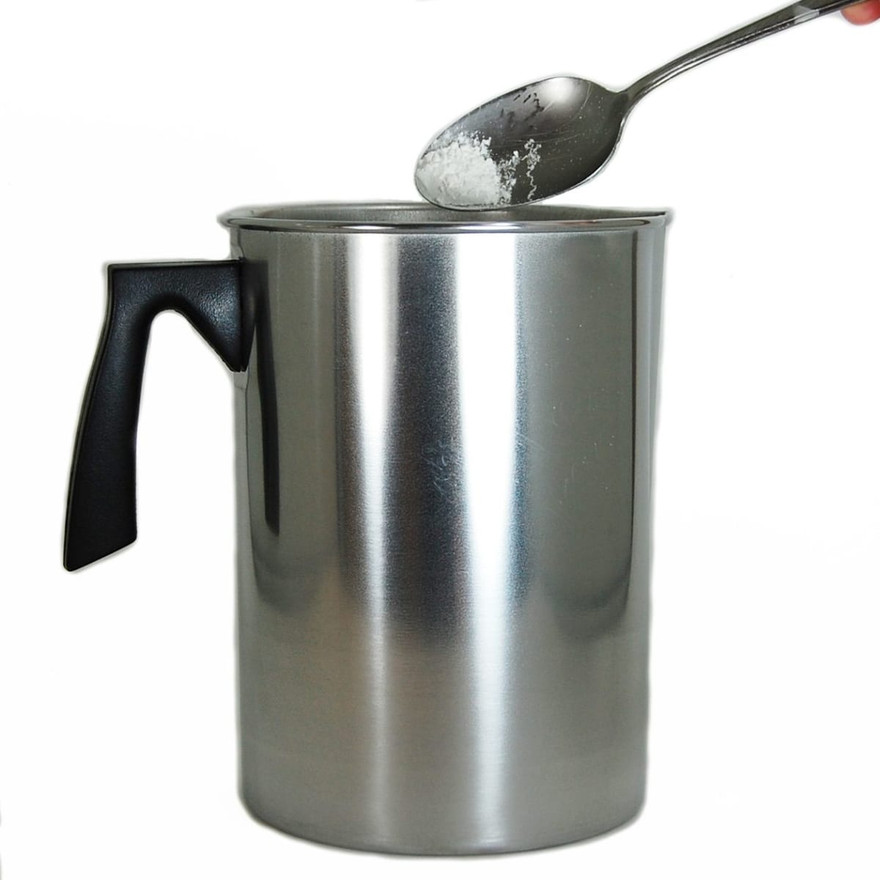
Add fragrance
Once the wax reaches the right temperature, weigh in the fragrance oil, commonly around 1 ounce per pound, and stir it through. Adding fragrance above its flash point is safe; the precaution that matters is keeping the oil away from open flame[2].
-
7
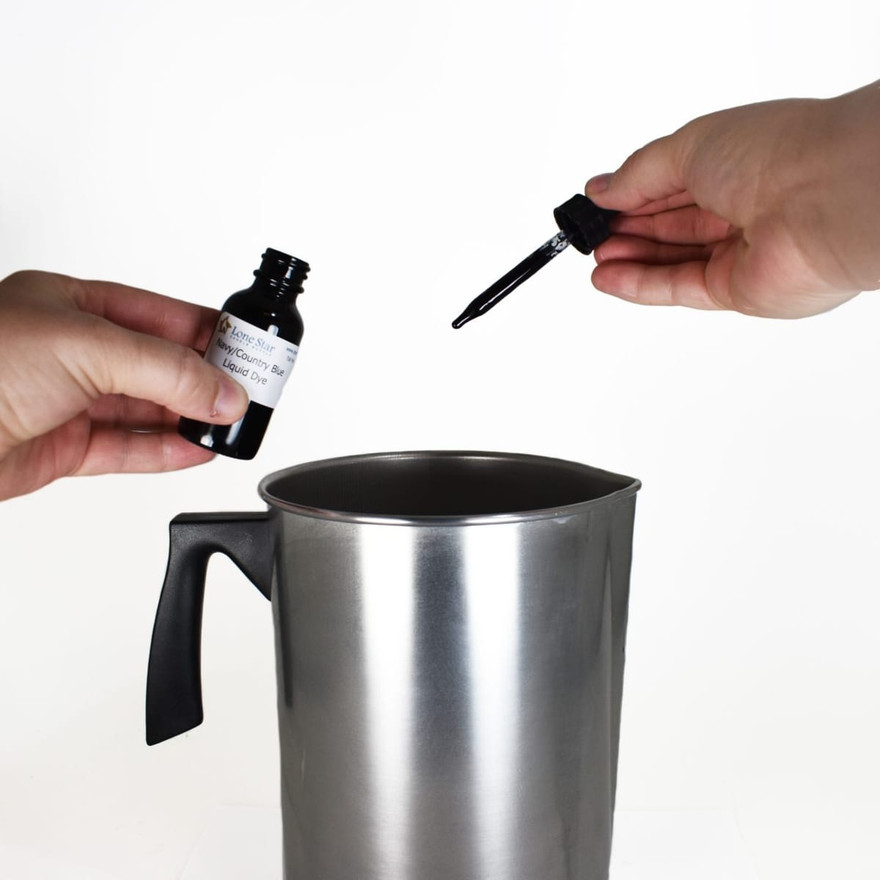
Color the wax
Stir in dye.
Cut the block into small pieces so it melts in quickly, then stir until the color is even.

Add it a few drops at a time and stir; you can always darken, but you cannot pull dye back out.
-
8
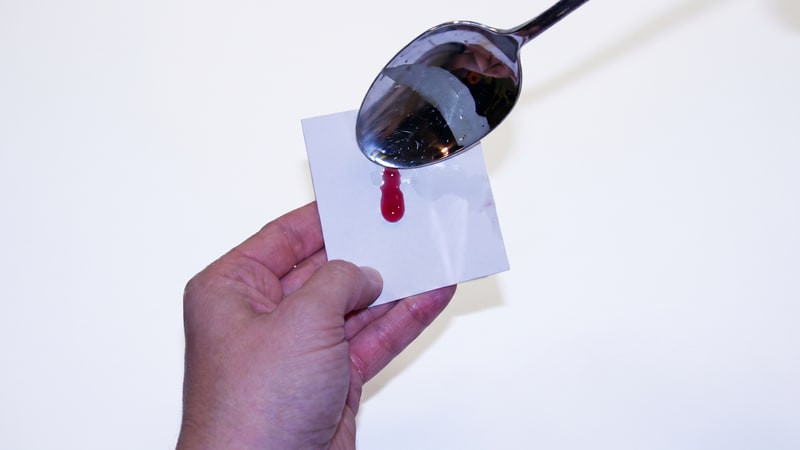
Drip-test the color
Drip a little wax onto a paper towel or card and let it set. The cooled spot reads far closer to the finished shade than the dark liquid in the pot, so adjust the dye before you commit.
-
9
Stir in UV stabilizer
If the candle will live near a window or fluorescent light, mix in about half a teaspoon of UV stabilizer per pound and stir three to five minutes. Recheck that the wax is at 175°F to 185°F, then lift the pot from the water, using a hot pad if necessary.
-
10
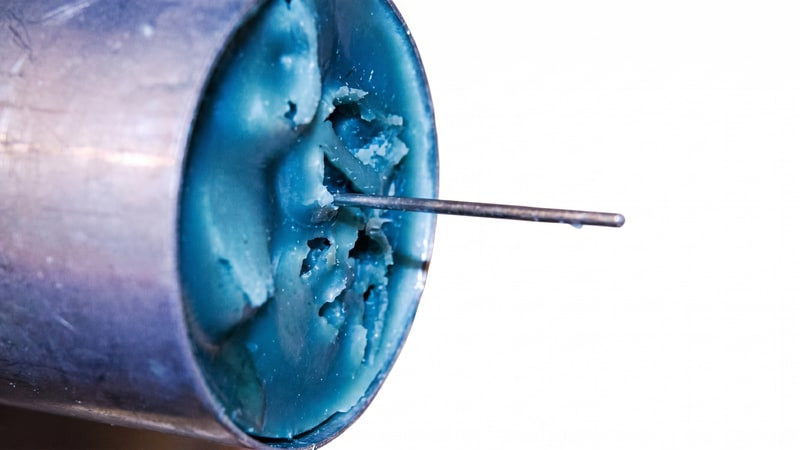
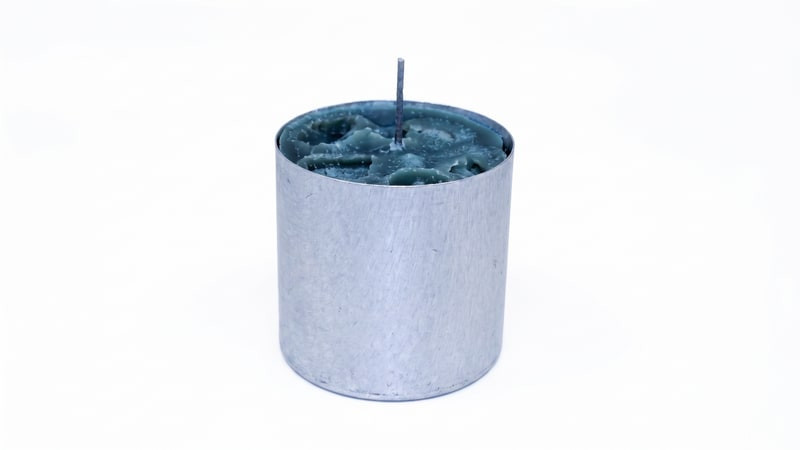
Pour the hot wax over the ice
Pour slowly and keep the stream moving around the mold rather than staying in one spot. The wax sets almost on contact with the ice; that fast set is what builds the lacy walls.
-
11
Drain the meltwater
The wax firms up fast because of the ice. Once it has set, drain the water from the mold over a sink, catching any loose wax flecks so they stay out of the drain.
-
12
Decide on a second pour
If you like the open holes, you are done; unmold, trim the wick, and apply the caution label. To fill some of the holes for a sturdier burn, leave the candle in the mold and move to the next step.
-
13
Second pour, if you want one
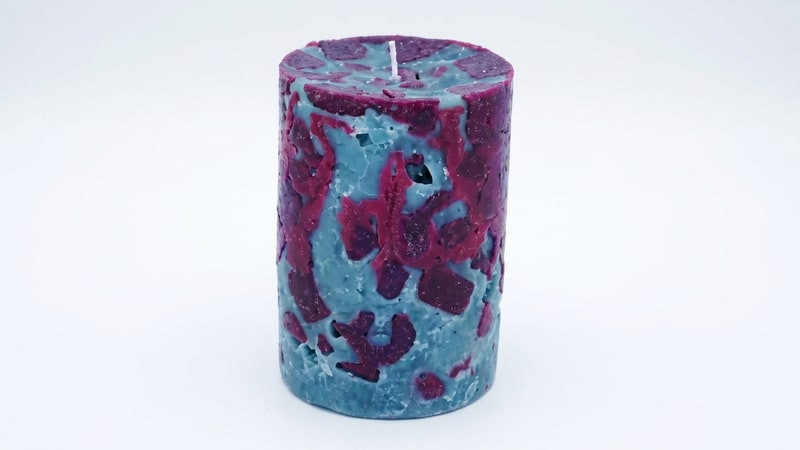
Fragrance and dye a fresh batch of wax, then pour it slowly into the cavities, moving the stream around so it fills evenly. A contrasting color here pools into the cavities for a marbled look.
-
14
Trim the wick and finish
Once the candle is fully set, unmold it, trim the wick to a quarter inch with wick trimmers or scissors, and add a caution label if it is headed for sale[3].
Color and Variation Ideas
The base method results in a single, stunning candle, but the variations are where ice candles get fun. Because the ice packs differently with every single pour, each project turns out completely unique.
Ways to Vary an Ice Candle
Single color
One dye, full coverage. The lace reads as light and shadow against a clean field of color.
Layered colors
Pour in stages as the wax sets, or run a contrasting second pour into the cavities for a marbled, two-tone shell.
Candle in ice
Stand a thin finished candle in the center of the mold and pack the ice around it. The ice candle forms a lacy outer shell around the solid candle core, creating a sturdier center section that can improve burn performance.
Burning Ice Candles Safely
Ice candles burn differently from a solid pillar, and the holes are the reason. Those open cavities act as channels, so melted wax escapes and trickles down the sides, and the wick tends to burn down fast. Set every ice candle on a pillar plate or a holder that catches overflow, and never burn one bare on furniture. Small pockets of water can also survive the drain and make the wick crackle as it reaches them, which is normal for the style.
Ready for more molded projects? Visit the Step-by-Step Guides hub for the full collection of tutorials.
