How to Make Succulent Embed Soaps
Start by gathering all the items that you will need. The process will go much more smoothly if everything is readily accessible.

Here's What You'll Need:
Microwave Safe Container
Cutting Board
Mica Powder or Soap Colorant
Knife
Paper Plates
Paper Towels
Metal Spoon or Stir Stick
Rubbing Alcohol in a Spray Bottle
This project is easy, fun, and can be adapted easily to different seasons or holidays by simply using different silicone molds and colors. The paper towels will come in handy if any soap spills over the molds or on work area.
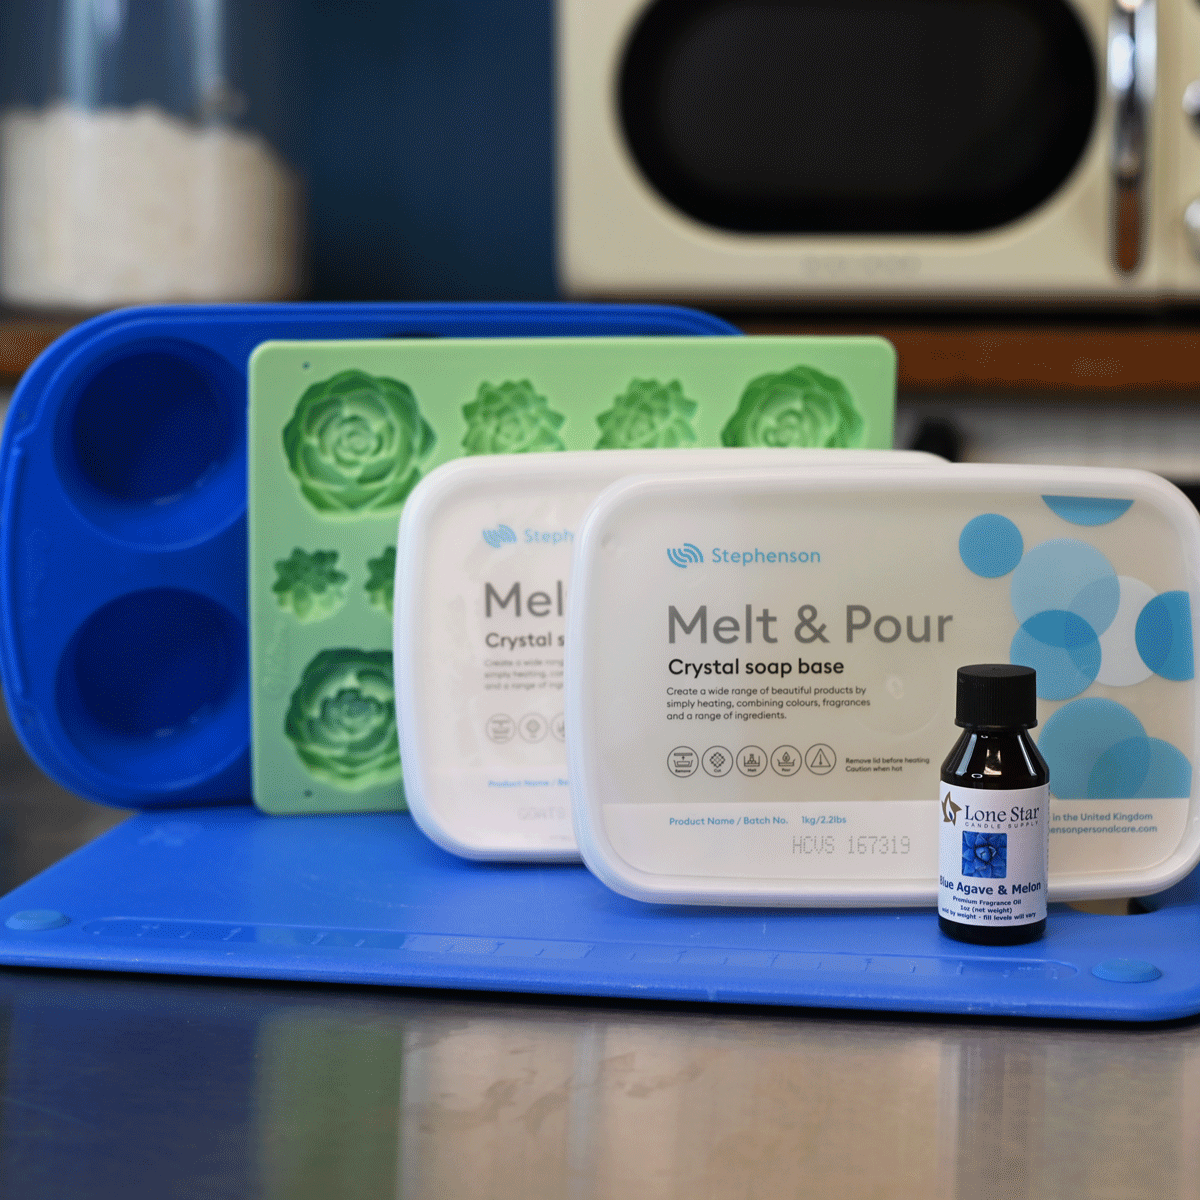
Gather all of your supplies so everything is easily accessible. One tray of each soap and one ounce of fragrance will be enough for this project.
Step 1
Step 2
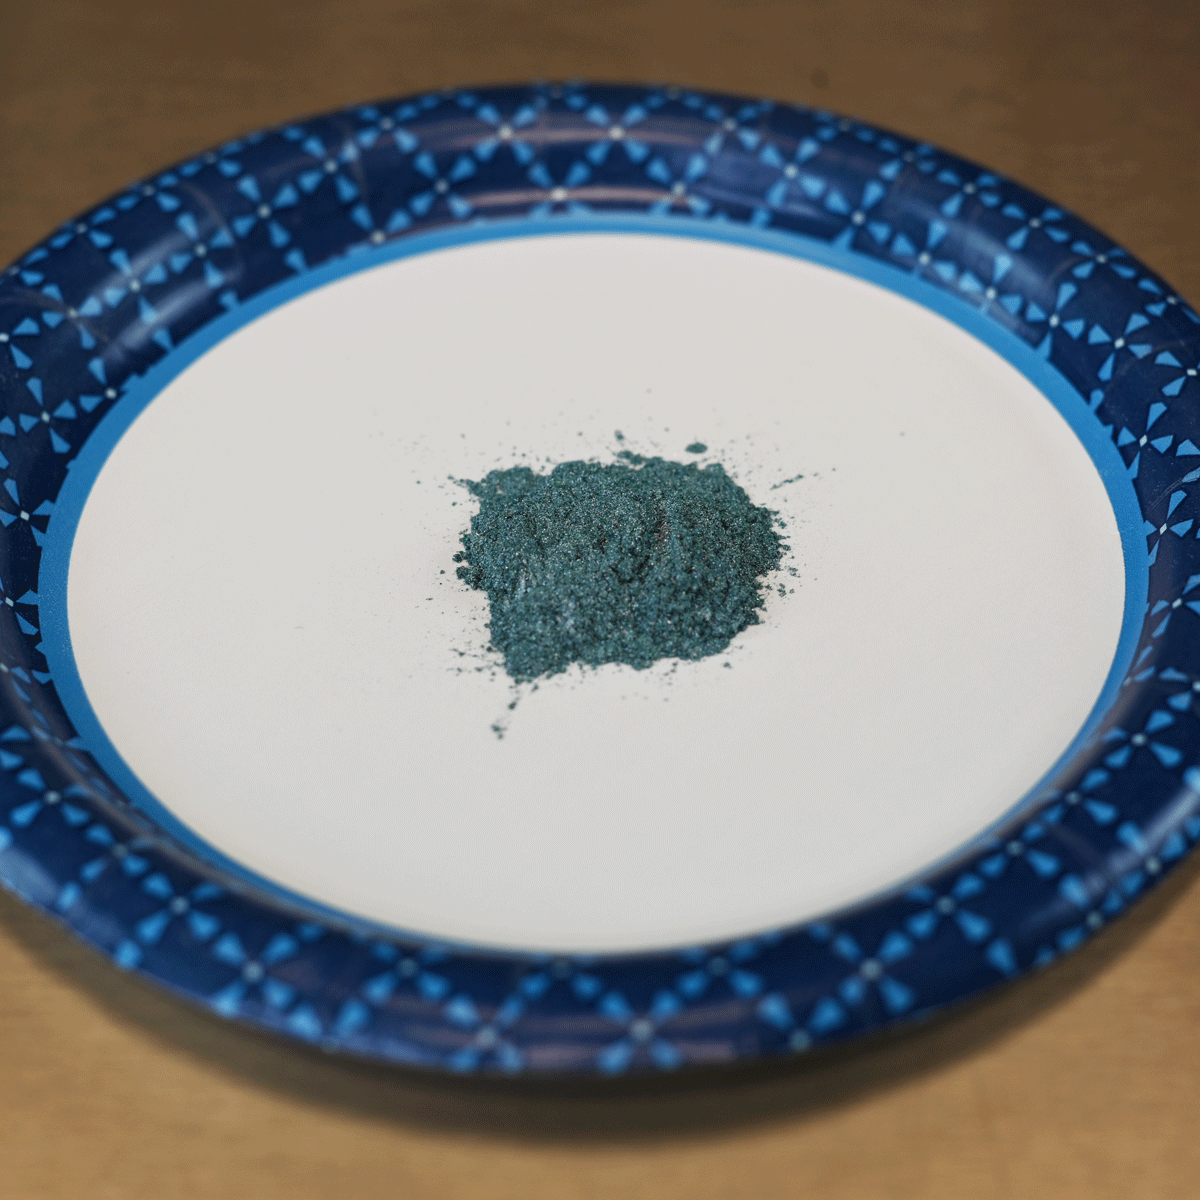
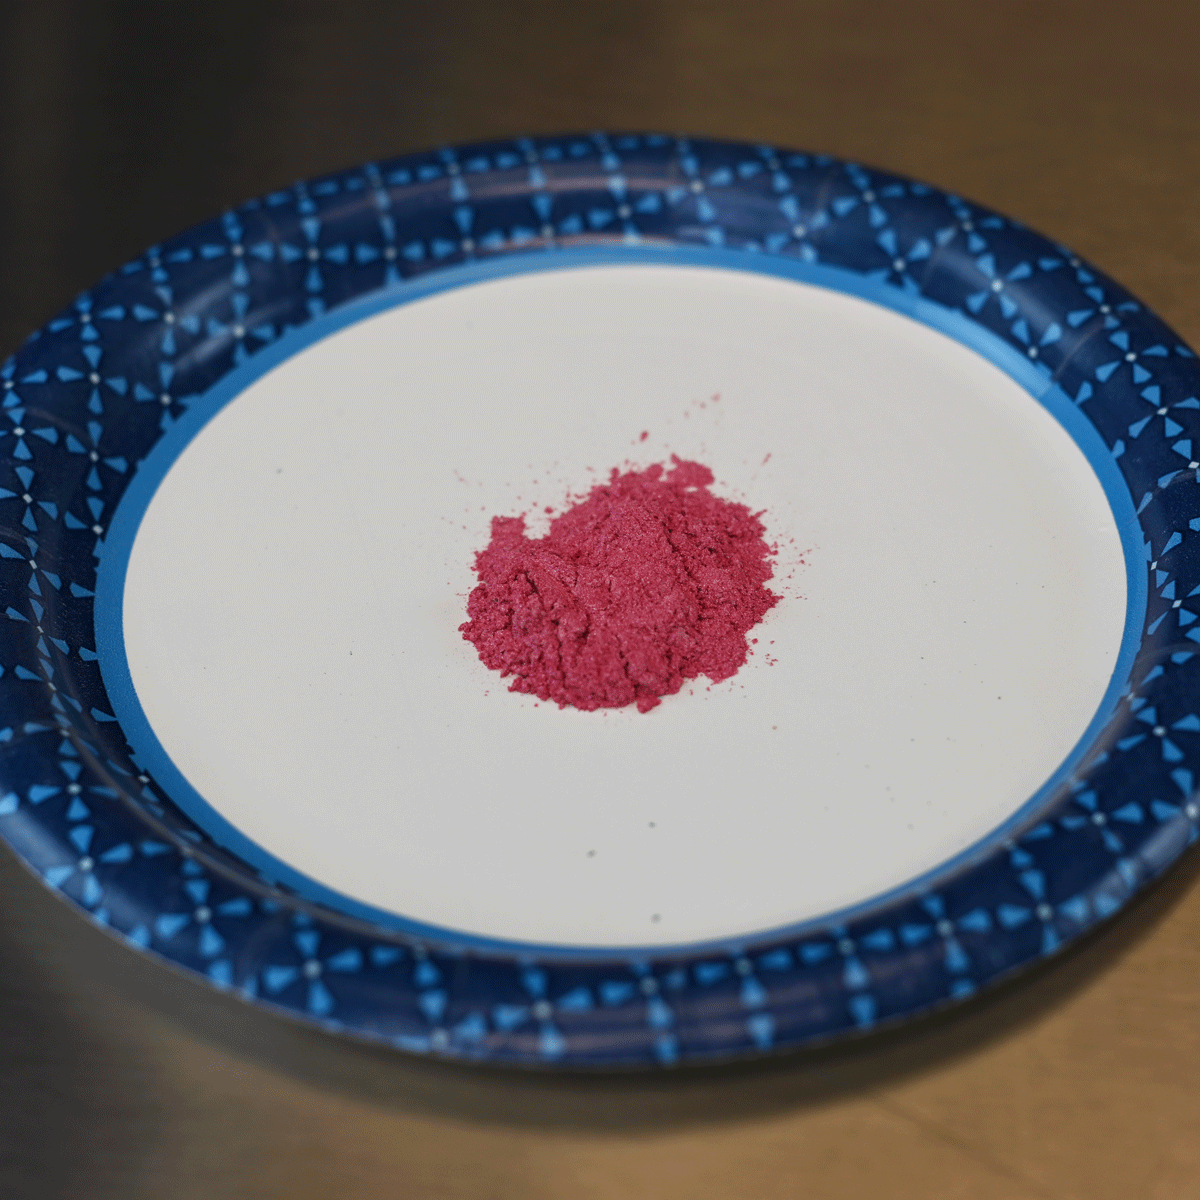
For this project, we mixed a few different mica powders together to get the colors we wanted. Feel free to use whatever color your heart desires, mixed or not! We used small paper plates to mix the colors together, but if you aren't mixing colors together, feel free to scoop the mica powder right out of the container.
Step 3
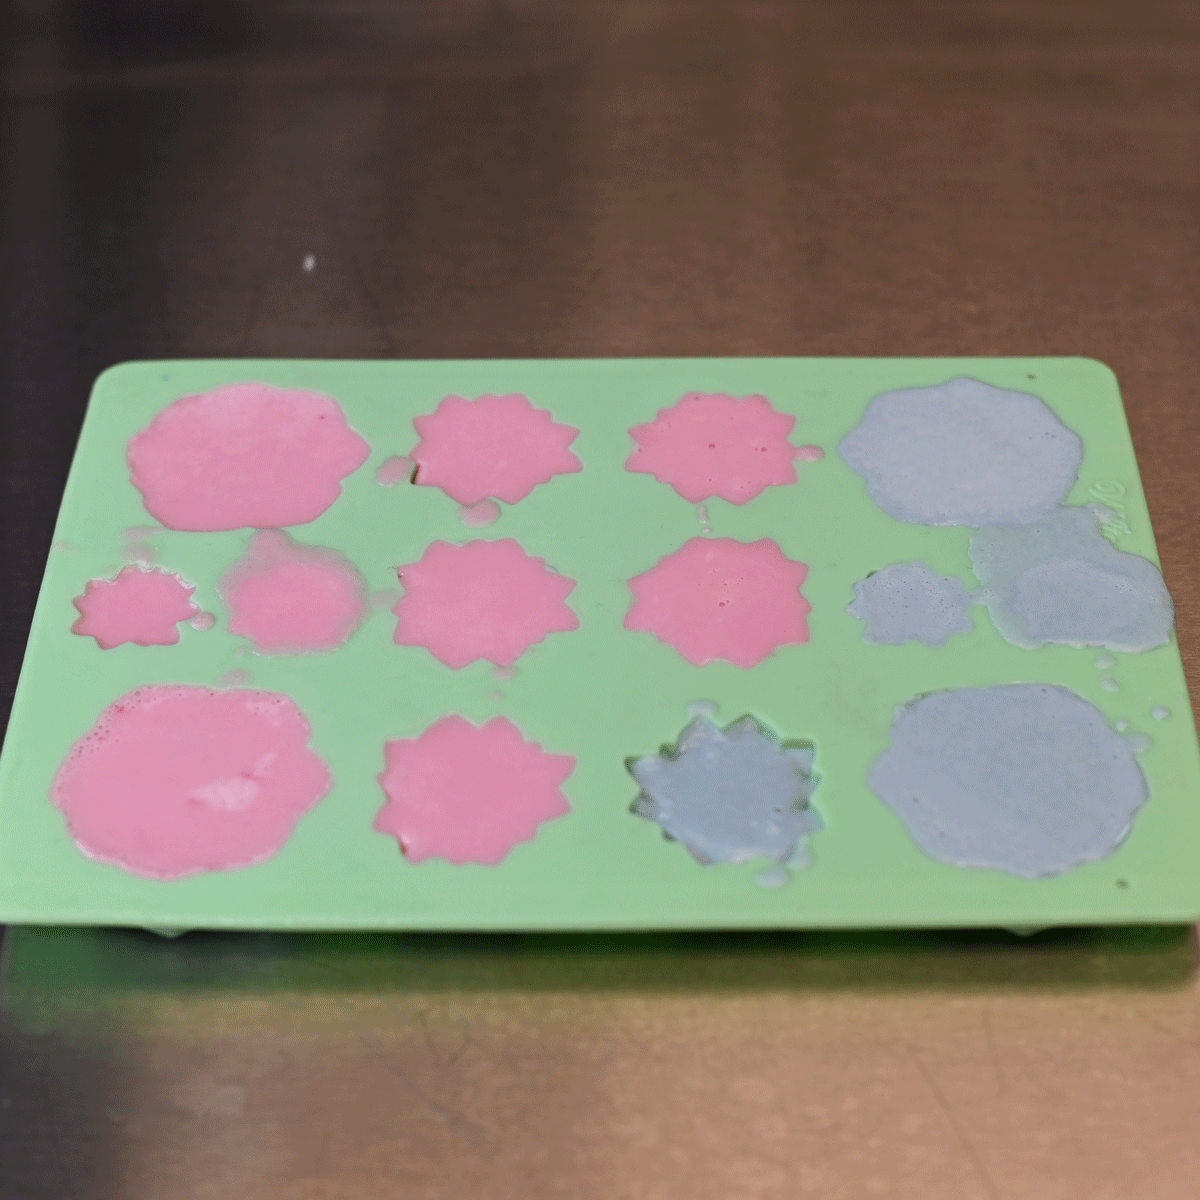
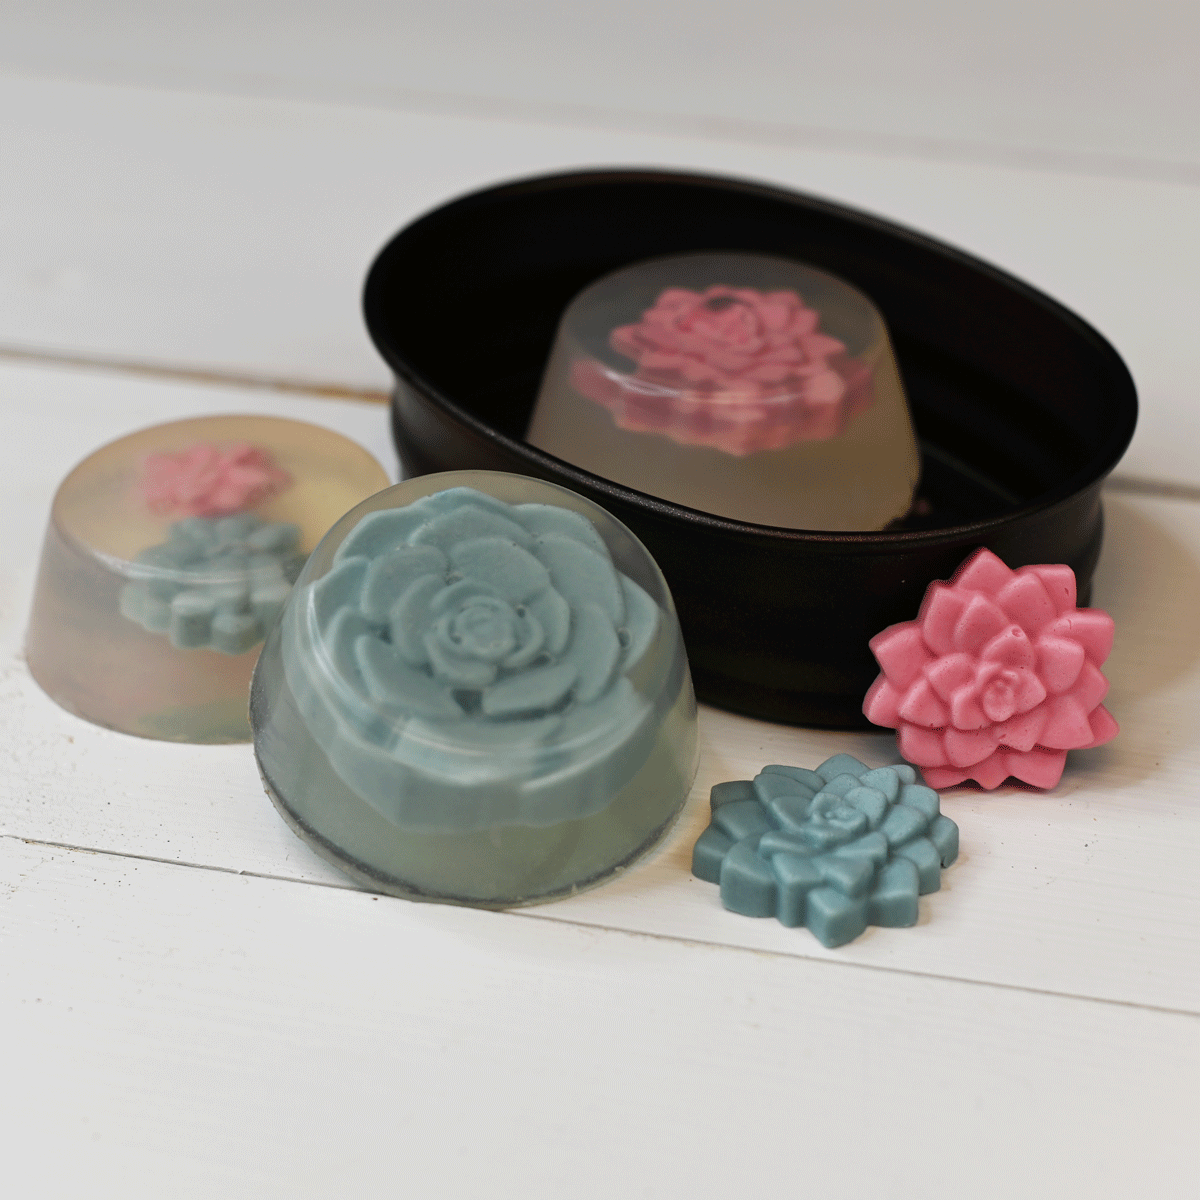
The succulent mold will hold about 5 ounces of soap by weight.
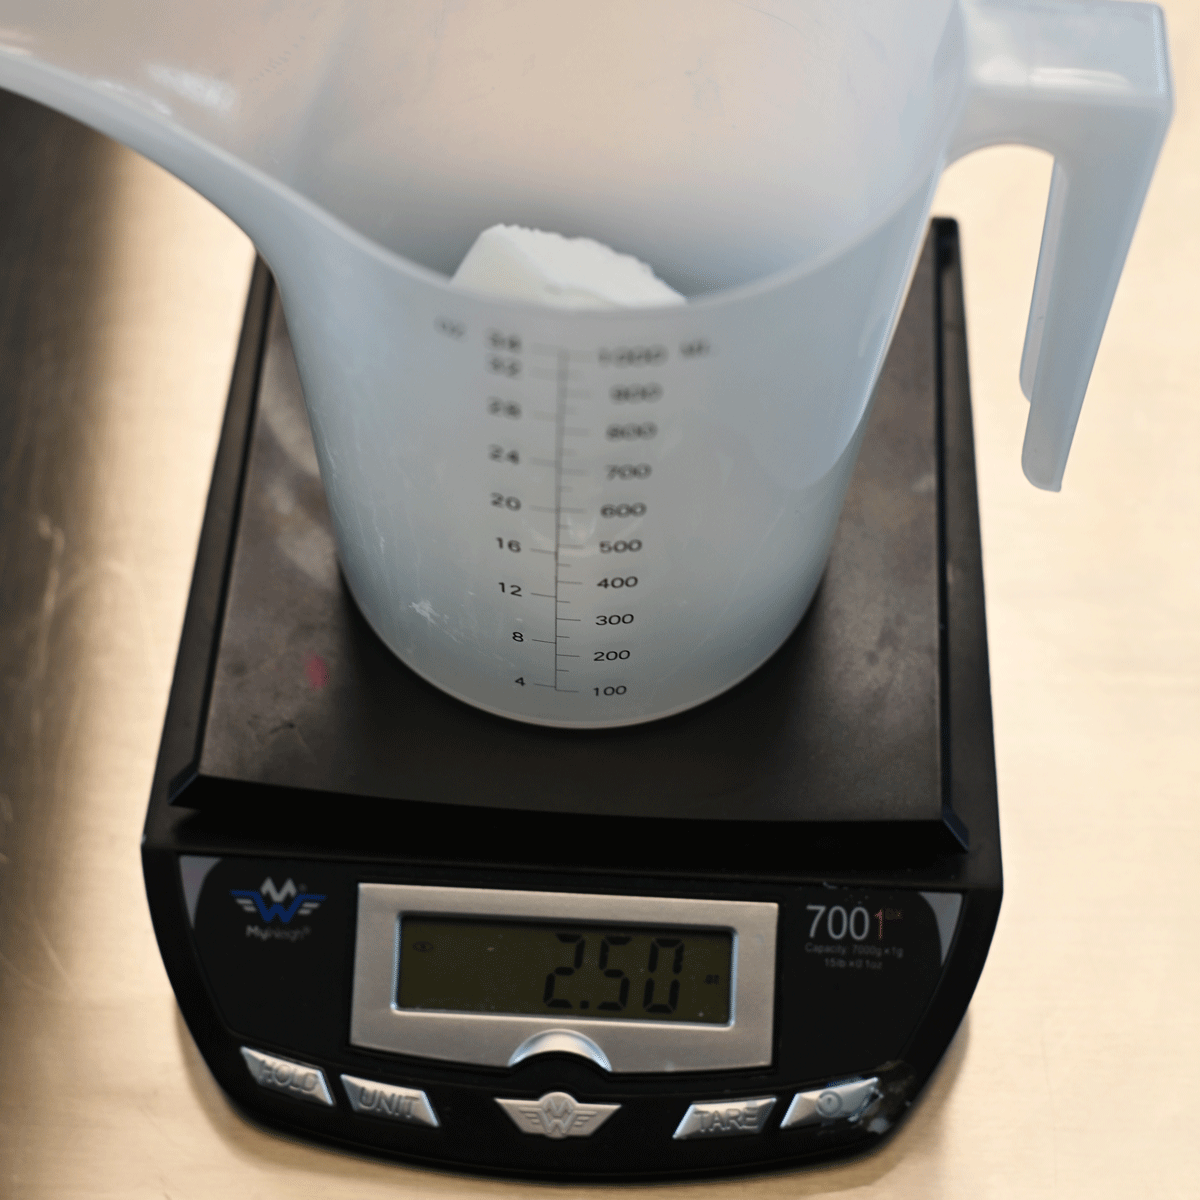
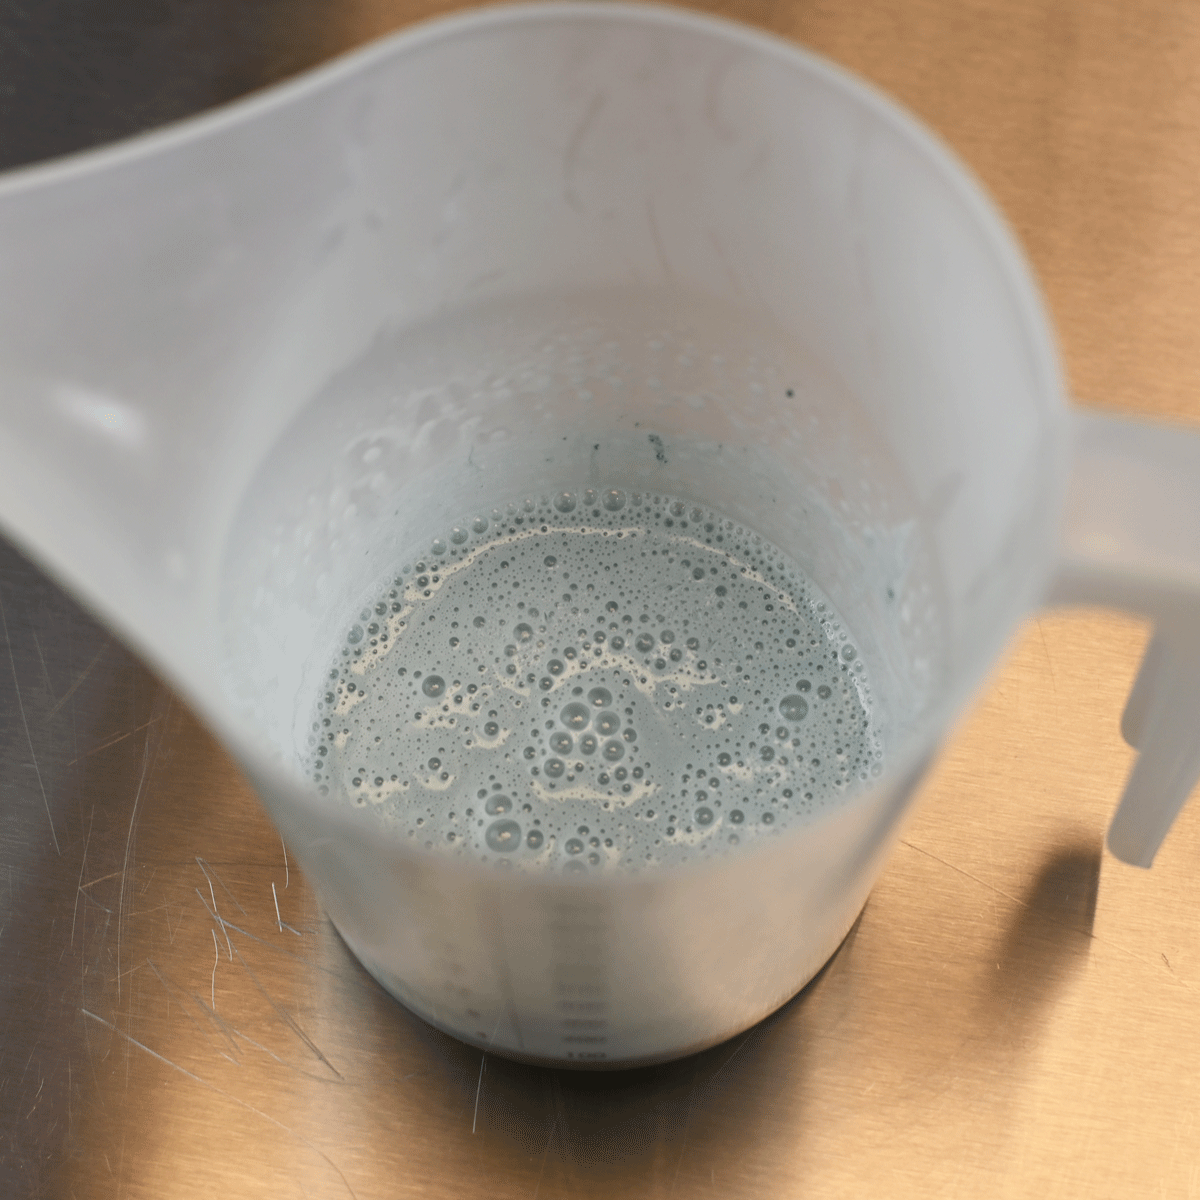
1 - Cut the soaps into 1" pieces then, using a scale, measure out 2.5 ounces of Stephenson's Goat's Milk M&P Soap Base. Once you've measured out the soap, melt it in the microwave in 20-30 second bursts. Mix in the first color of mica powder, and pour into the mold.
Note: Before pouring into the mold, lightly spritz the mold with the alcohol then pour. Right after pouring, make sure to lightly spritz again with the alcohol to pop any air bubbles.
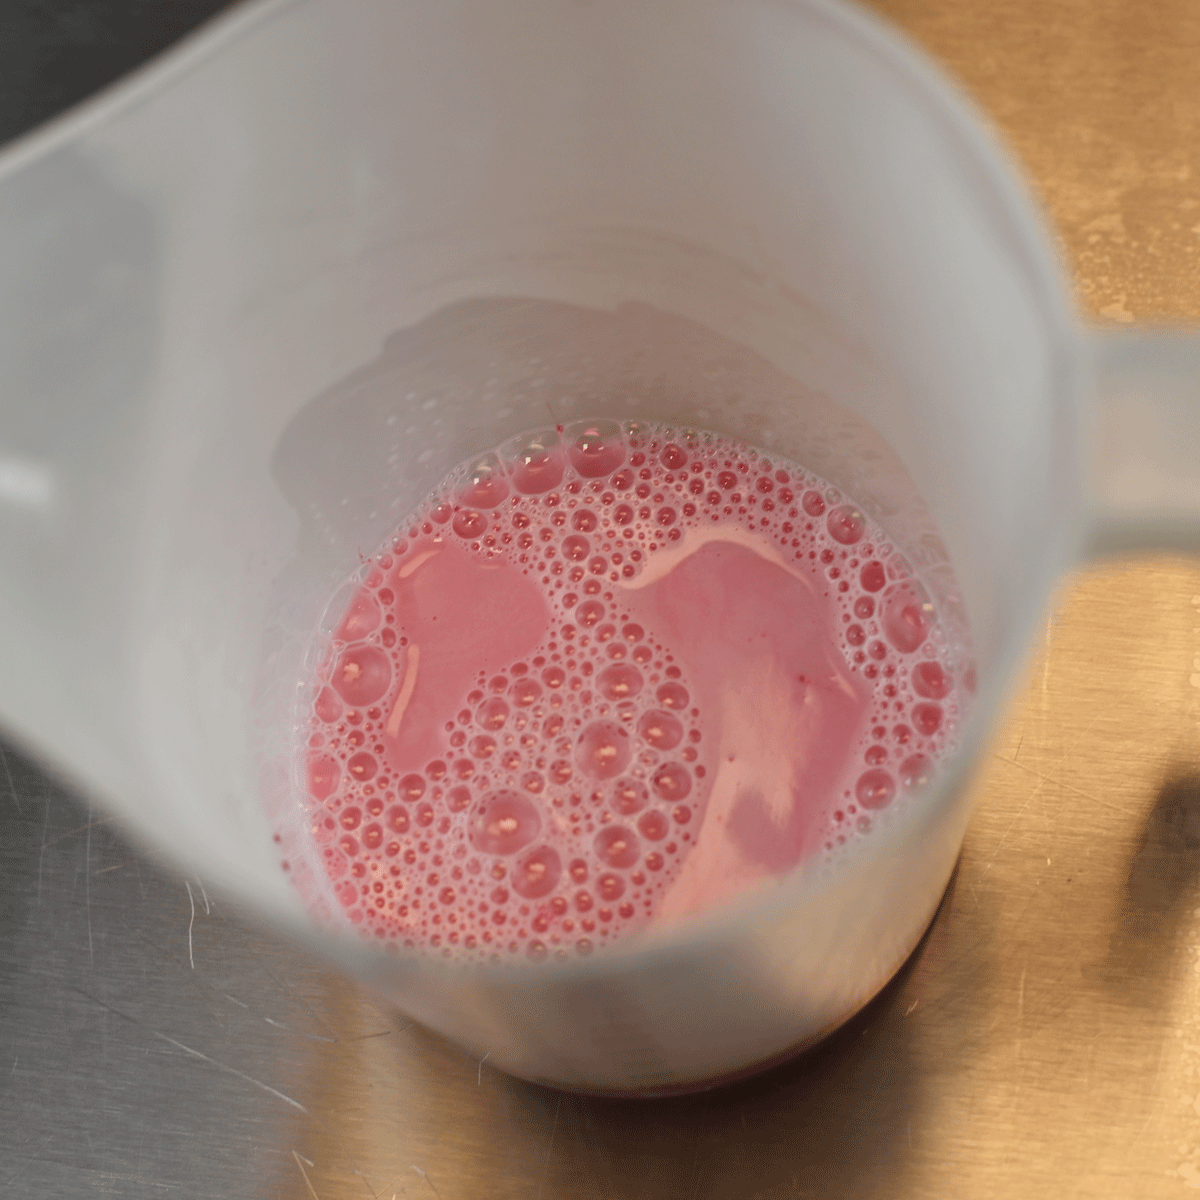
2- Repeat step 1 with the second color.
Note: We did not add fragrance to these embeds simply because the main part of the soap will have fragrance. Feel free to add 3% to these!
Step 4
Once both colors have hardened, remove them from the mold and let them cure in the open air for 3-5 days to ensure the colors do not bleed into the translucent soap base.
Note: It's okay if you've overfilled them as we did. You can easily peel off the excess soap by using your fingers or with an Exacto knife to trim them up once they have been cured.
Step 5
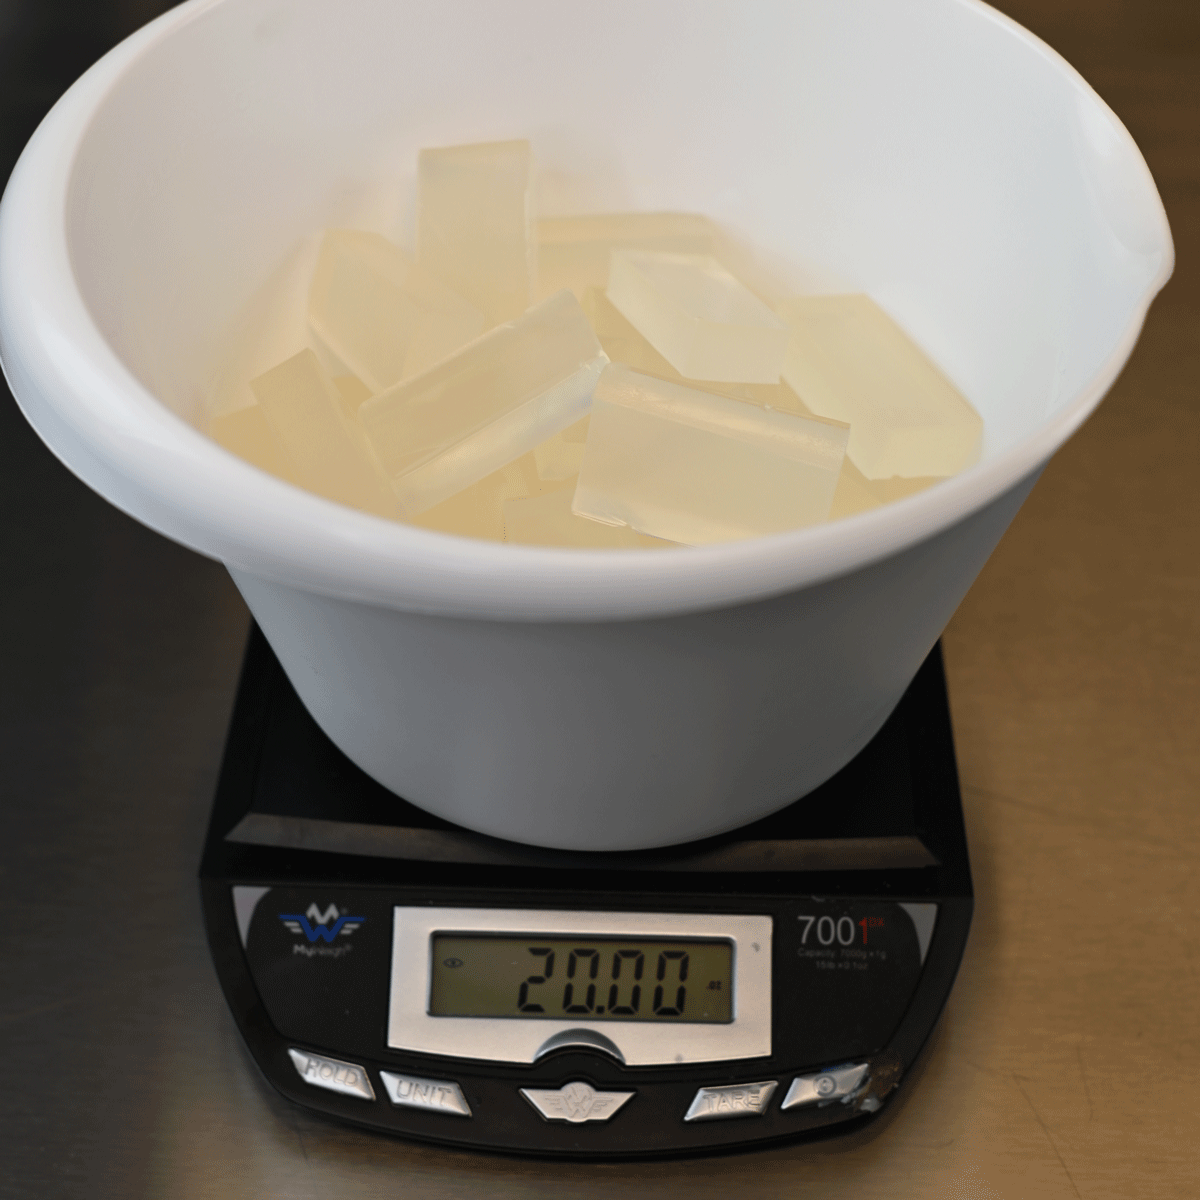
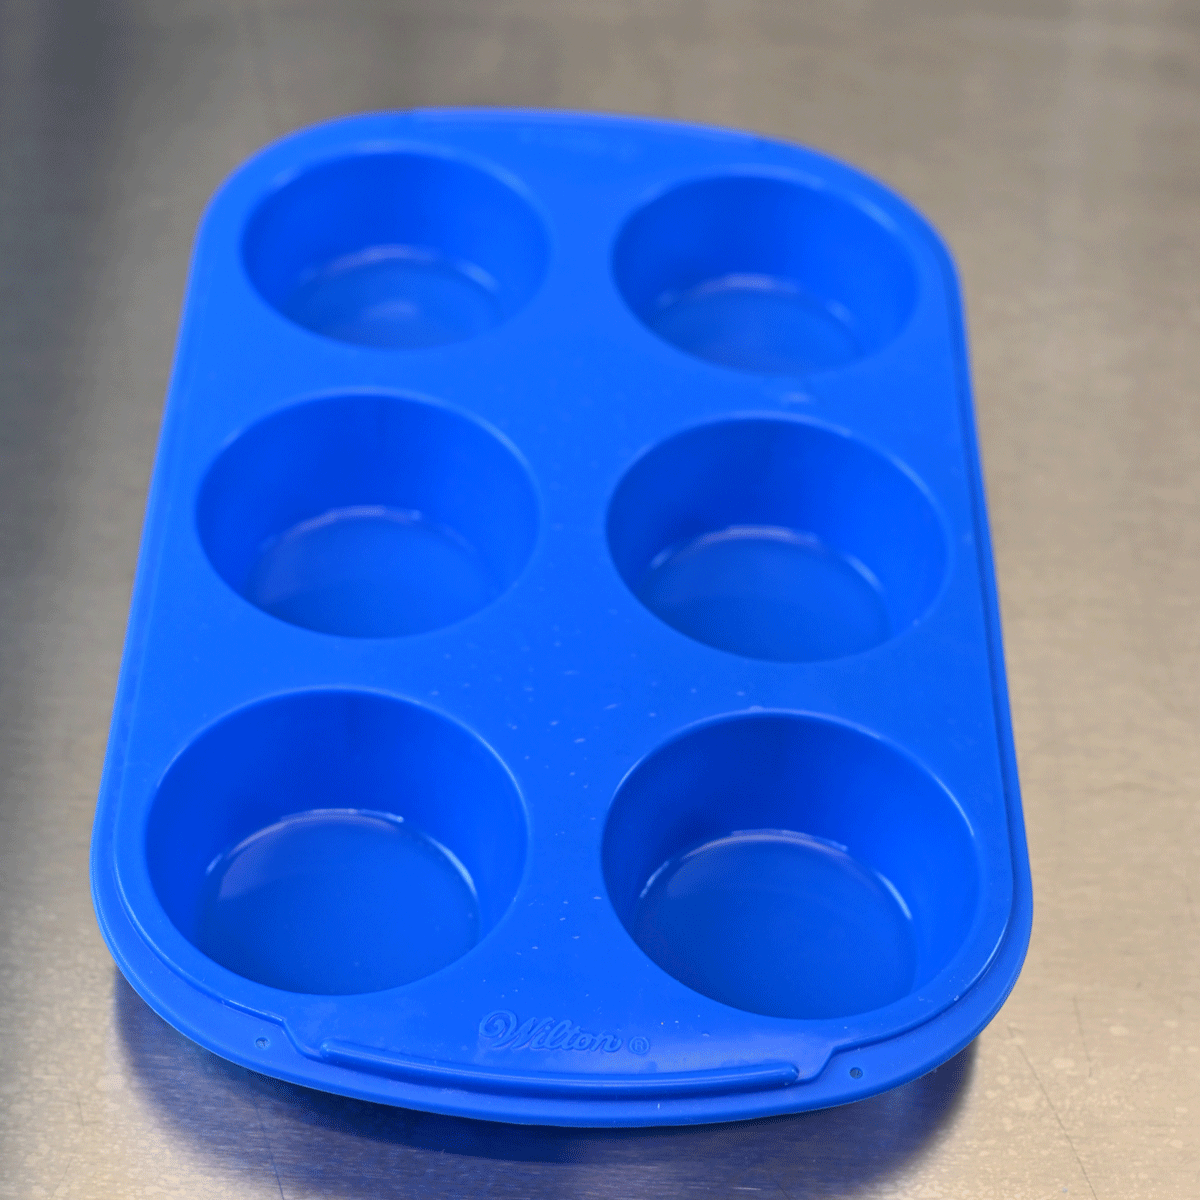
The silicone muffin molds will hold about 20 ounces of soap by weight.
1. Cut and measure 20oz of the HCVS soap base (by weight) and melt it in the microwave using 30-50 second bursts until fully melted.
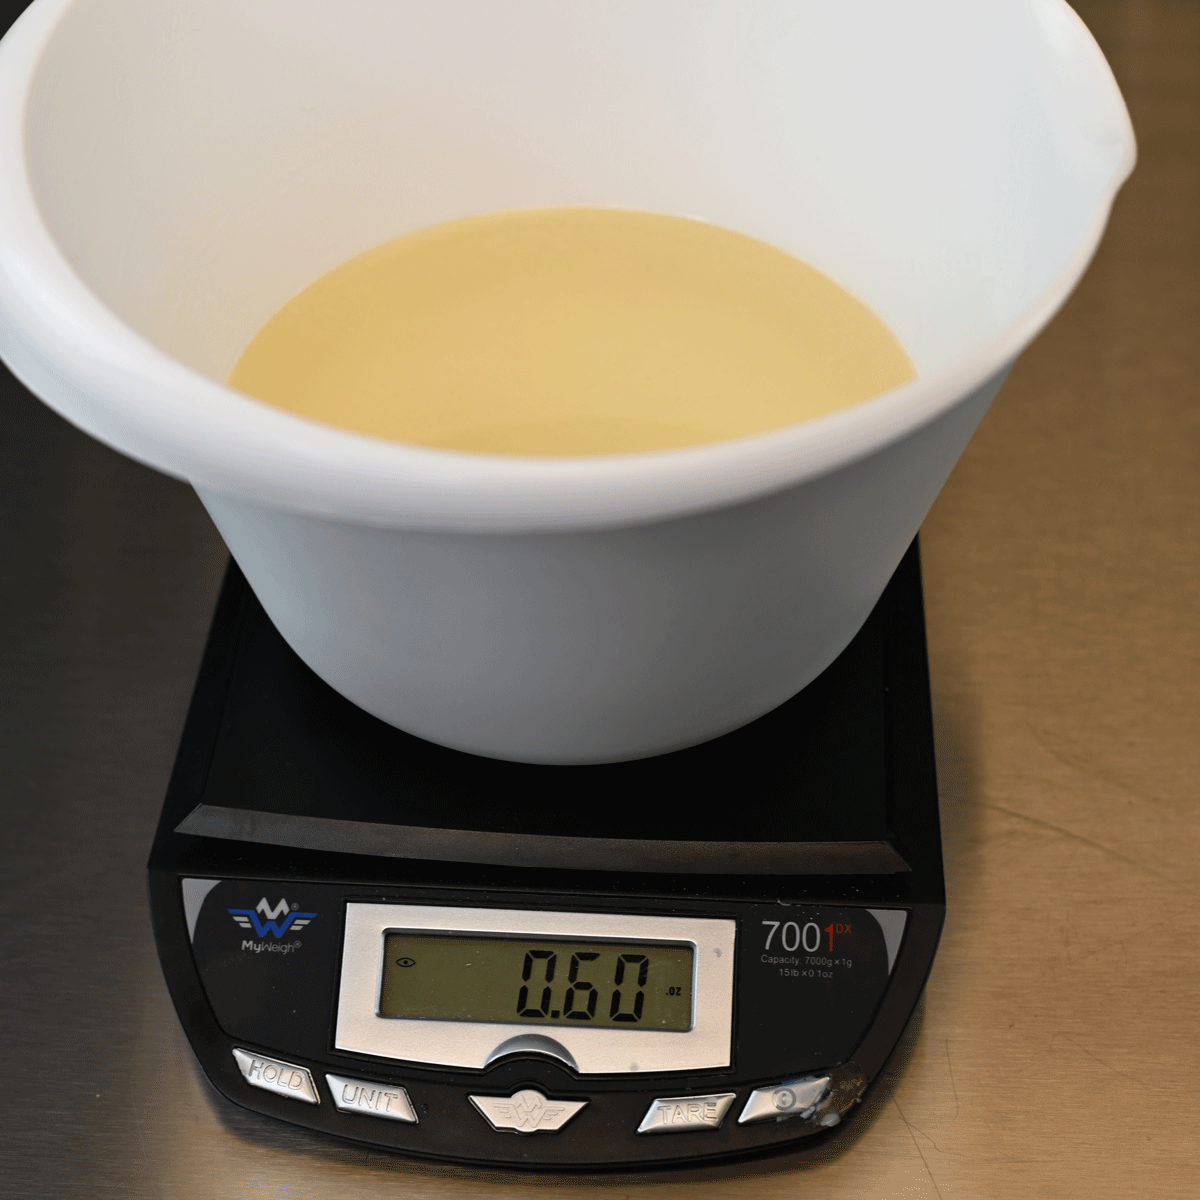
2. Once the soap is melted, use your scale to measure .6 ounces (3%) of your soap-safe fragrance oil then gently stir it into the melted soap.
Step 6
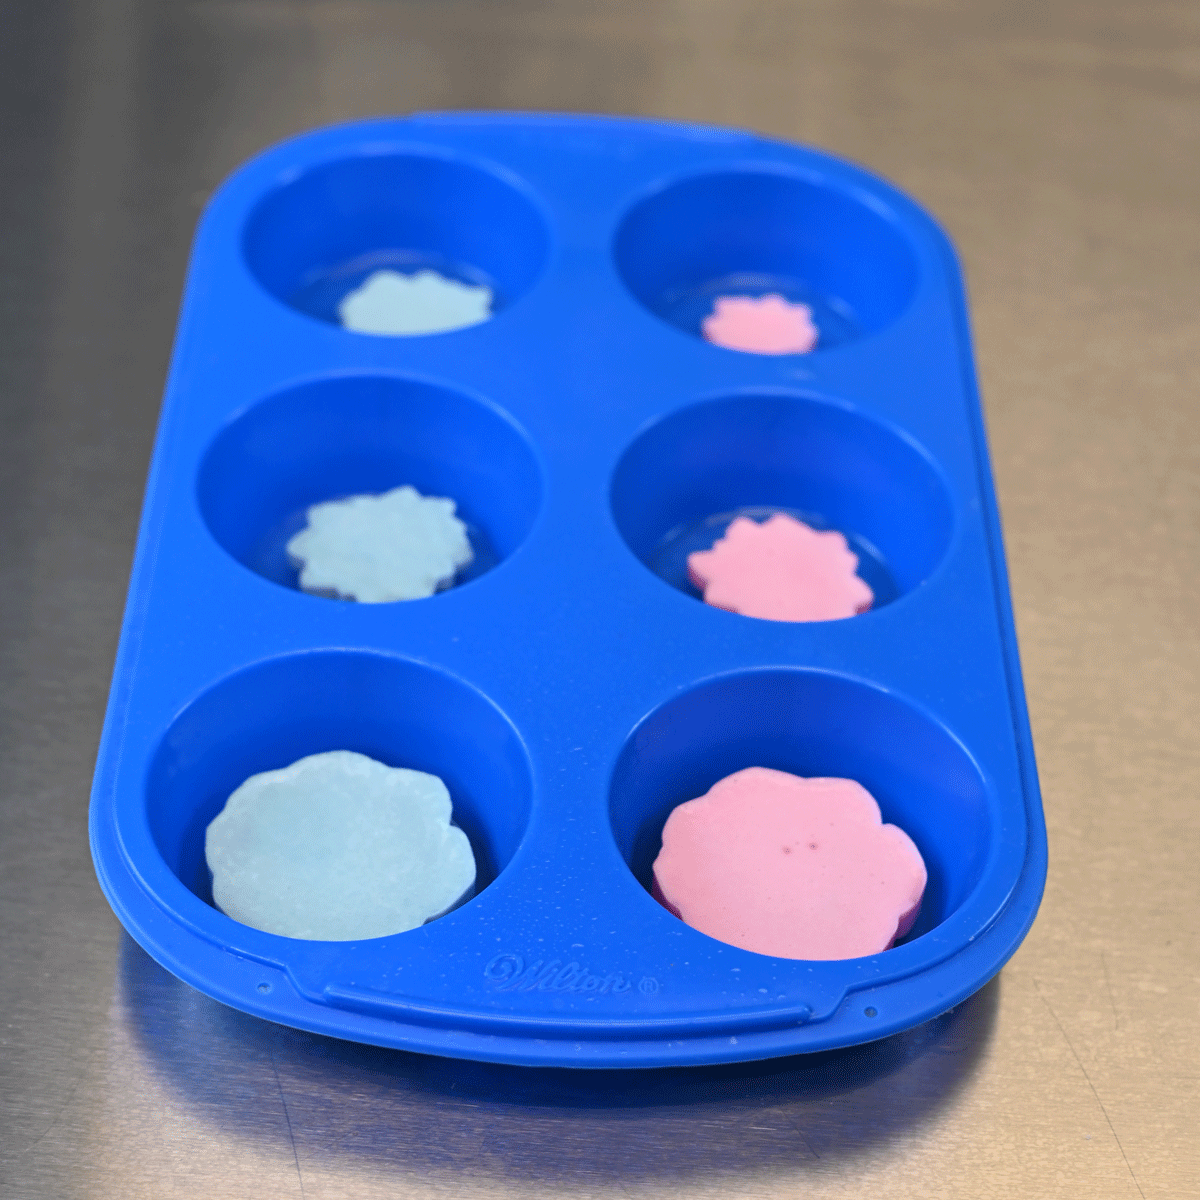
Grab your spray bottle of alcohol and lightly spritz the bottom of the muffin mold. Pour a thin layer of the HCVS soap into the mold, then do another light spritz of alcohol on top to pop any air bubbles. You'll want to pour just enough soap to cover the bottom of the muffin mold so you can clearly see the embeds in the soap. If that bottom layer is too thick, it will be very blurry and you won't be able to see as much detail.
Let the soap set up for about 20 minutes before moving on to the next step.
Step 7
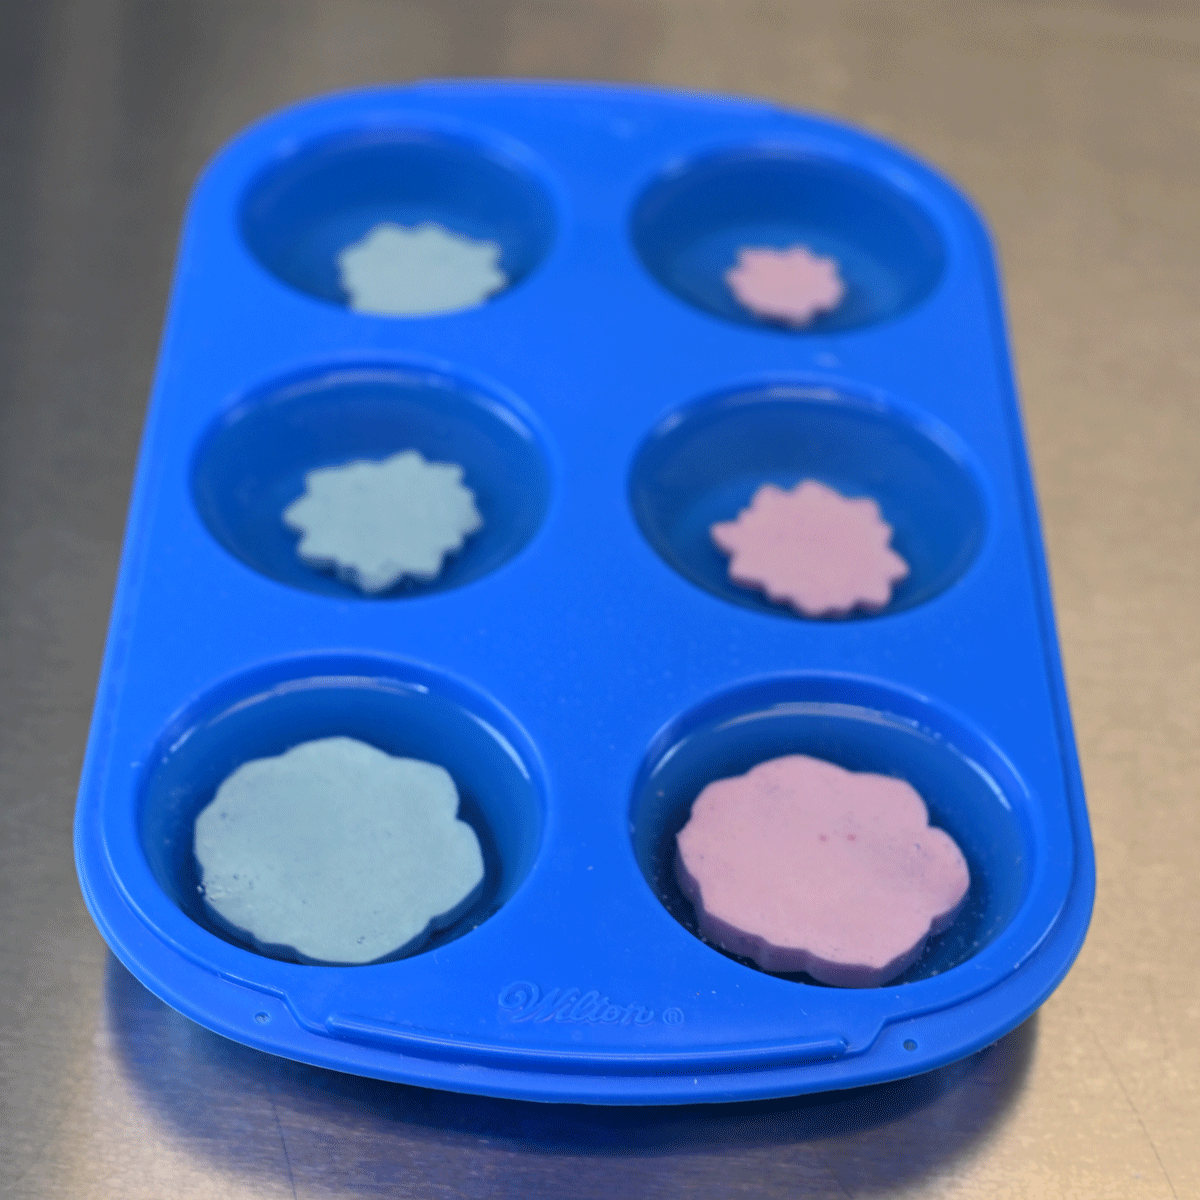
Once the bottom layer has hardened, you'll need to warm up what remains of the 20 ounces of HCVS to pour the last layer. Once the soap is ready, spray a light layer of alcohol before placing the succulent embeds inside the muffin mold. This light layer of alcohol will help the layers stick together.
Slowly pour and fill the rest of the cavities with soap and lightly spritz with alcohol to remove any air bubbles. You'll want to do this as you fill each cavity.
Note: If the soap is too hot when you do the second pour, you may accidentally melt the embeds. We recommend pouring the second layer at about 130F.
Once the soaps have completely hardened, remove them from the molds and lay them out flat. We recommend letting your soaps cure for about a week to draw out excess moisture there may be in them.
That's it!
You're finished! The soap may be given or sold individually, or place them in your own bathroom!
Tag us if you share your creations on your social media accounts! You can use the hashtag #lscscommunity and see your beautiful creations on our Lone Star Community Page.