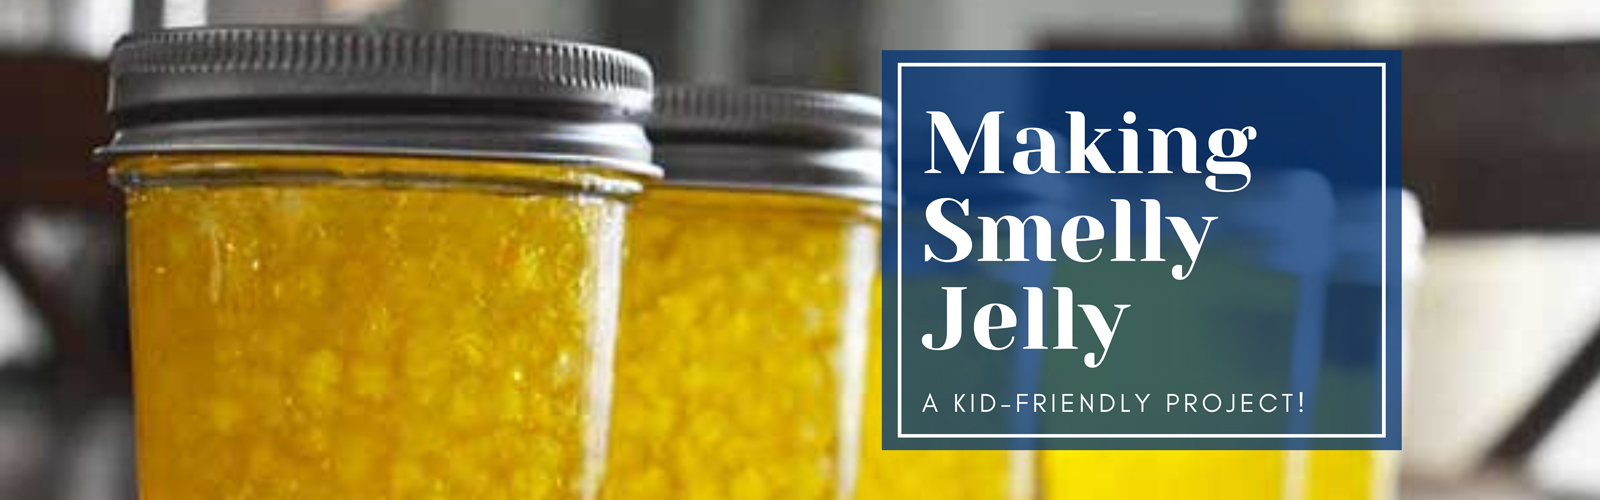
How to Make Smelly Jelly
If you have young children and you are looking for a fun and safe project to do with them at home, this is a GREAT one to try!
Smelly Jelly is like a candle, but it does not require any heat to emit the fragrance. Pretty much all the materials used to make Smelly Jelly are non-toxic and safe for kids to handle. You can put these little guys in your kids' rooms, your car, bathroom, office, and pretty much anywhere else! They are made out of a non-toxic water crystal that can hold up to FOUR HUNDRED times their weight in water! Just add some fragrance oil and distilled water and you have a cute little jar that will make your space smell amazing!
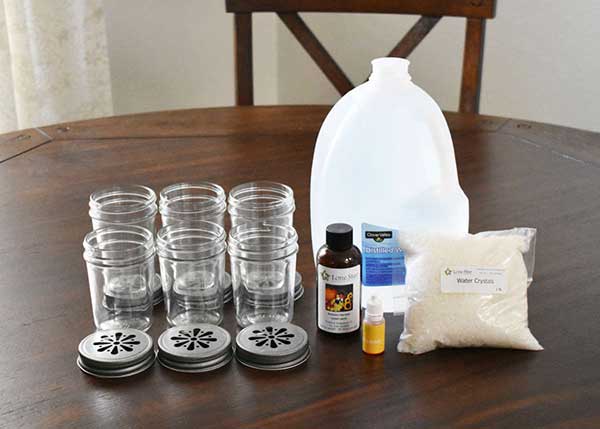
Here's What You'll Need
Water Crystals
8oz Smooth Sided Jelly Jars
Fragrance Oil
Daisy Cut or Vented Lids (70mm Threaded)
Distilled Water
Food Coloring (optional but recommended)
Measuring Cup
Teaspoon
Tablespoon
A Cute Kid (not sold in stores)
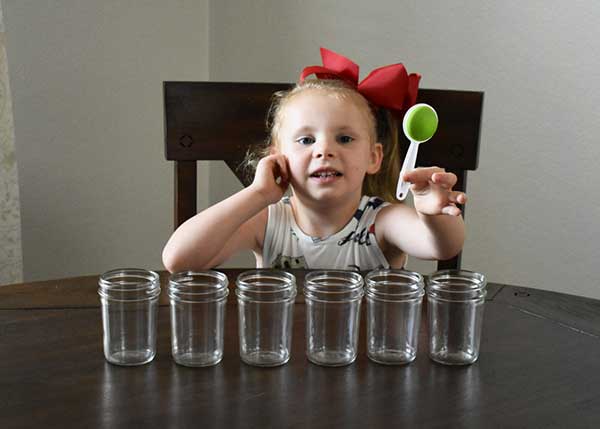
Step 1
Our little helper is 5 years old and was able to do this project pretty much all on her own. All she needed help with was measuring out the distilled water, fragrance oil, and the food coloring. She did everything else with just a little bit of instruction!
First, we lined up the jars so we could create an assembly line. Doing this seemed to make it super easy for her to repeat every step for each jar.
One thing that we didn't do that we wish we had was lay some wax paper down on her workspace. Fragrance oil can sometimes discolor wood stain so it is best to take this extra step to protect your table! (Luckily, she didn't really spill anything, so the table was fine!)
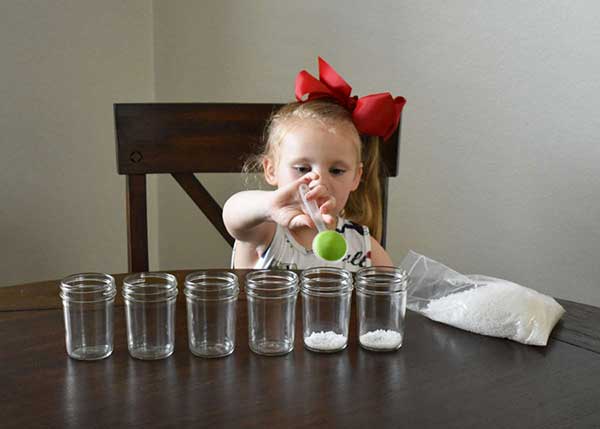
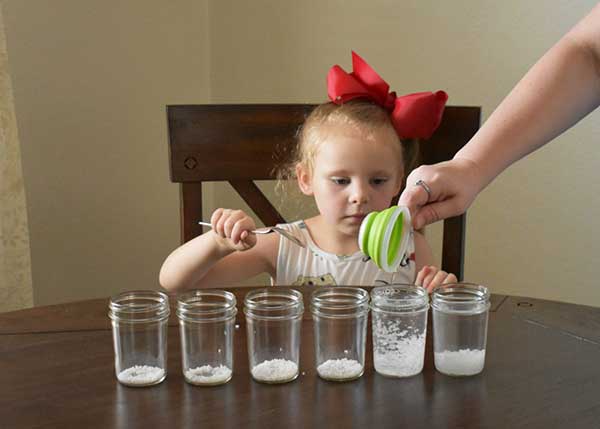
Step 2
Next, we measured out 1 teaspoon of water crystals for each jar. We simply gave her a measuring spoon that was the right size and the bag of water crystals and let her go to town! She repeated this step until each jar had approximately 1 teaspoon of water crystals in it.
It doesn't look like this would be NEAR enough of the water crystals but remember, these little guys can hold up to three hundred times their volume in liquid, so don't add any more, or your jar will be overflowing with Smelly Jelly!
Step 3
For the next step, we measured out 1 cup of distilled water and poured it into each jar. An adult did this step for her because the gallon of distilled water would have been too heavy for her to lift, but she seemed happy enough to watch the jars being filled for her!
We recommend using distilled water to keep the Smelly Jelly from growing any mold or mildew over time. You can make it with regular tap water but keep in mind that it may not last as long because it may get a little moldy.
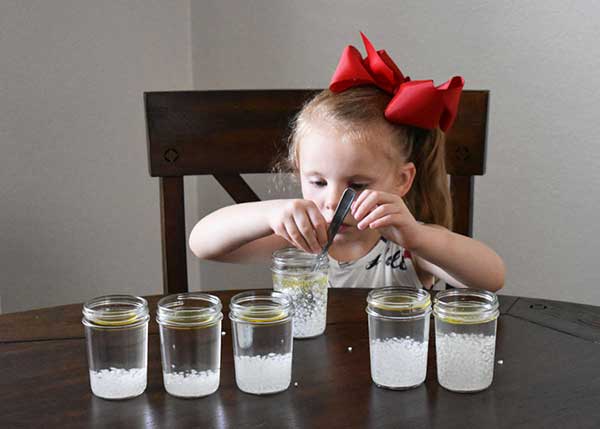
Step 4
Next, we measured out 1 tablespoon of fragrance oil and poured it into each jar. This is one step we DEFINITELY recommend a parent or guardian do for this project because some of our fragrance oils can irritate the skin if they come in direct contact with it. We all want to keep our kiddos safe, so please make sure you take special care measuring your fragrance oils and keeping them out of reach of children or pets!
Once we measured out all the fragrance oil, we let her SLOWLY stir it to help blend it as much as possible. You will notice that the fragrance is oil-based (duh), so it may not mix in with the water until the water crystals fully plump up. You can see in this picture that they are already starting to absorb water and grow!
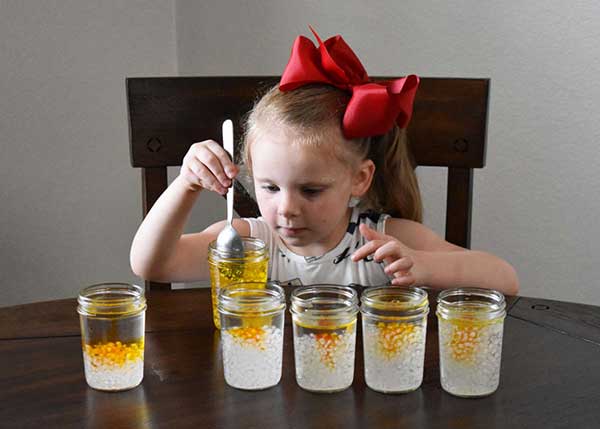
Step 5
For this next step, we added a couple of drops of orange food coloring to each jar and let our helper keep stirring everything together. Stirring each jar for a couple of minutes seemed to really help blend everything together. Plus, she loved watching all of the little water crystals swirl around!
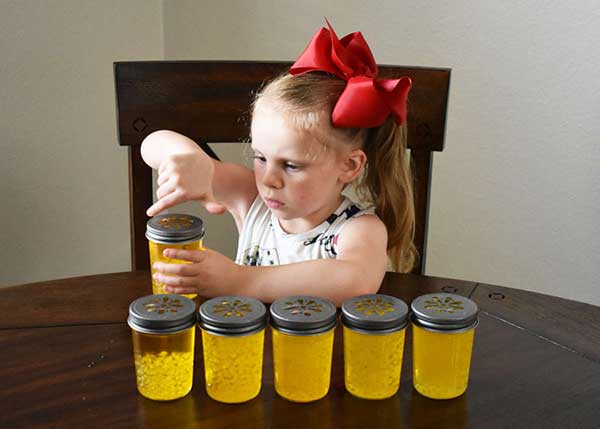
Step 6
For the last step, we had her screw on one of the pewter daisy cut lids on each jar. These lids are vented, so it makes them perfect for the Smelly Jelly. The holes are small enough that they help keep the jelly in the jar but wide enough that the fragrance is able to escape and make your room smell amazing! We also sell a cardboard Pulp Liner that fits down inside the lid and makes a sort of seal on the jar. These are great if you need to transport your Smelly Jelly to sell, give away, or if you need to store them. Since we were planning on placing these all over the house, we didn't use the pulp liners this time.
That's it!
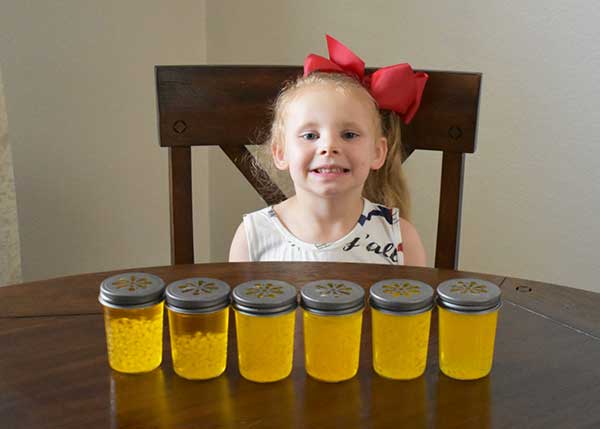
And that's it! She had so much fun making these, and we loved getting to watch her little mind work and figure out how to complete all these steps. As you can see from the picture, she was SO proud of herself! She kept smelling each jar saying, Mmmm! That smells SO good!" We ended up putting one of the jars in her bedroom, bathroom, and living room, and it makes the whole room smell so good!
Now it's time to try it with your kids. You can let them pick out their favorite fragrance and color so they can make it their own special creation!
We'd love to see pictures of your creations! If you post your results on social media, make sure you tag us and use #lonestarcommunity to see your pictures on our Lone Star Community Page!