How to Make a Wax Tart Bouquet
If you're looking for a new and exciting way to present your wax tarts, this is a great idea! You can make these cute little tart bouquets with just a few extra materials and steps. These make great gifts and would be a great addition to your product line as well. Let's get started and we will show you how easy these bouquets are to make! Start by gathering all the items that you will need. The process will go much more smoothly if everything is readily accessible.
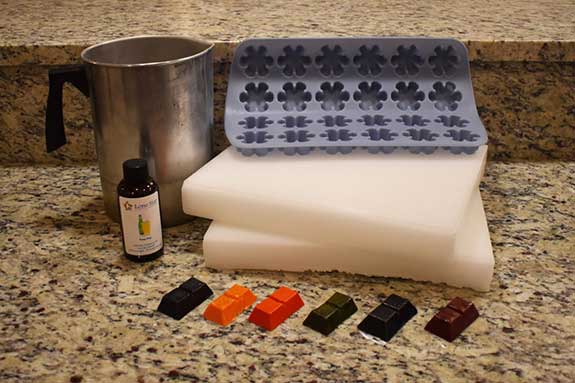
Here's What You'll Need:
IGI 4794 or IGI 4826
Silicone Embed/Soap Mold
Fragrance Oil of Your Choice
Candle Dye
UV Stabilizer
Thermometer
Pouring Pot
A Metal Spoon
Paper Towels
Bamboo Skewers
A Vase
Floral Foam
Crinkle Paper or Tinsel

Step 1
Follow the instructions for this step by step guide titled How to Prepare Wax for Pouring. You can find this simple tutorial in our Candle Making University. It helps break down each step you will need to follow to melt your wax to prepare it for pouring into the silicone mold.
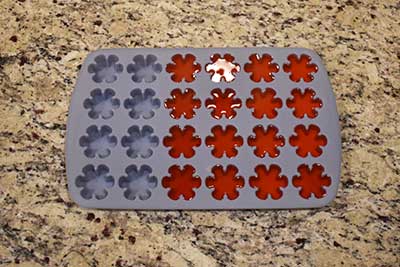
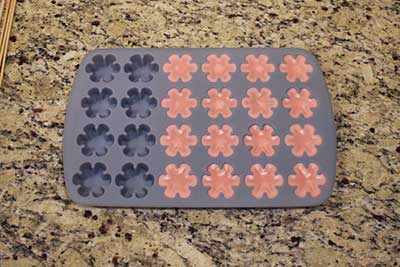
Step 2
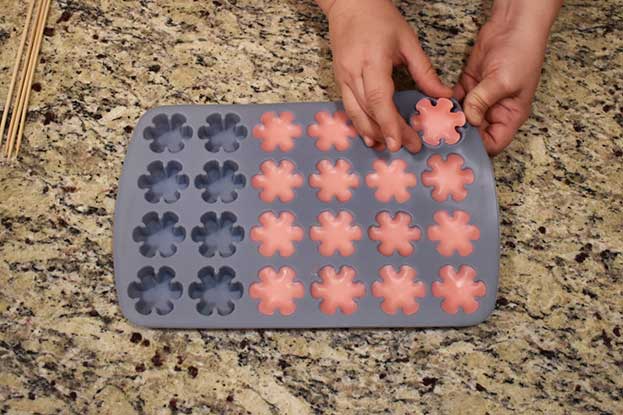
Once you have poured the wax mixture into the silicone mold, you will need to keep a close eye on it and check the consistency of the wax. You can see part of the cooling process in the pictures to the left.
You want the wax to set up to a "play-dough" consistency so it is pliable enough to insert the bamboo skewer. If you let the wax set up until it is completely hard, you will likely crack and break the tart when you try to insert the skewer.
Step 3
This part can be a bit tricky. It can be difficult to remove the tarts from the silicone mold while they are still pliable. If the wax is too soft, you may end up disfiguring the tart or tearing it. If the wax is too firm, it could crack and break. It may take a couple of tries to find just the right consistency for you to be able to remove the tarts "safely." I recommend slightly pulling on the edges around the tart until it starts to separate from the wax. Doing this will help it to release from the mold a little easier and give you a good idea of the consistency of the wax. You may end up bending the tarts just a bit while removing them from the mold, but they are easy to re-shape before you have to insert the skewers.
Step 4
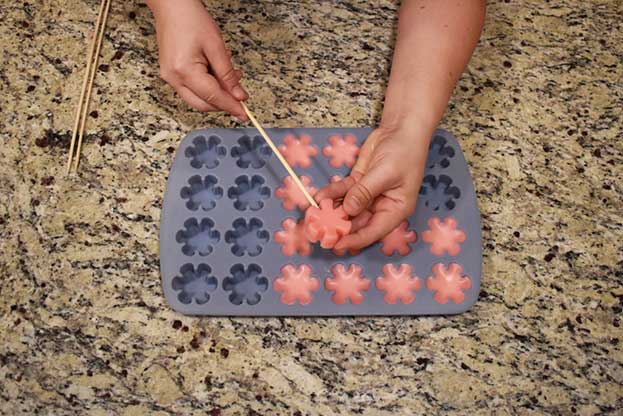
This is one of the easiest steps. All you need to do is gently slide the skewer into the side of the tart. Make sure it goes in straight otherwise the tart may look crooked or you could break through the side of it. You only need to insert it about 1/2-3/4 of the way through the tart to make sure it is secure.
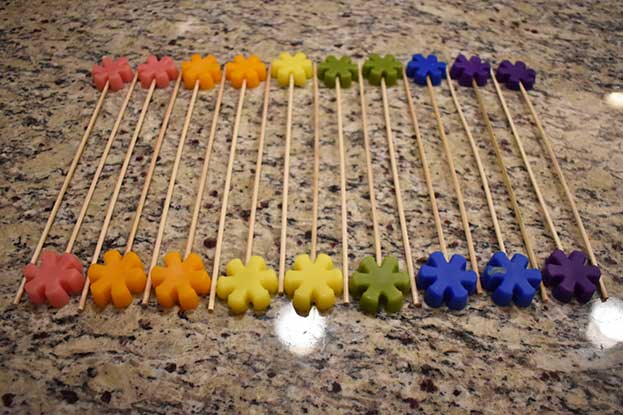
Repeat steps 1-4 as many times as you like! If you are just making 1 or 2 bouquets, you may not need very many tarts. If you are mass producing, you will need to repeat these steps as many times as necessary. I decided to create a rainbow bouquet, so I repeated this process for all 6 colors I chose to use.
Step 5
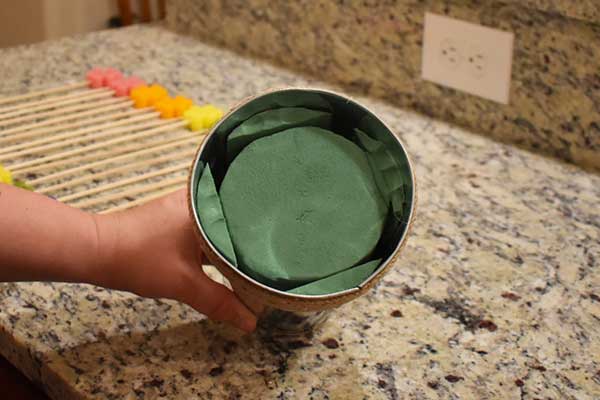
These little round foam pieces were almost the perfect size for the vase I chose. You want the "stems" of your bouquet to be in there nice and snug, so it is best to use 2 layers of foam to make sure the skewers have something to lean on. I ended up using two layers of foam and then cutting a few of the edges off a third piece to make sure the top layer was not going to move.
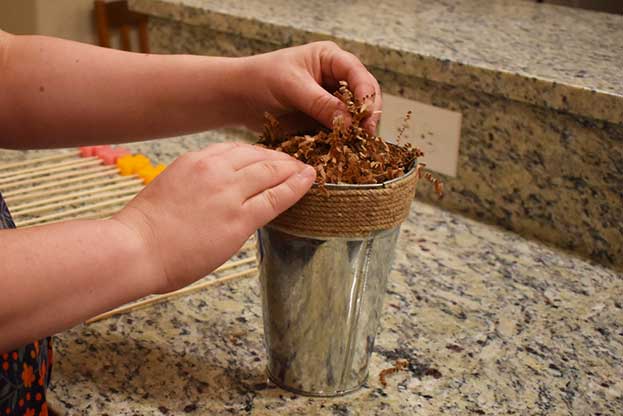
Step 6
This is fairly straightforward. Take a few small handfuls of the crate paper and make sure you cover the foam. You'll need to sort of push the paper down to make sure it lays flat over the foam.
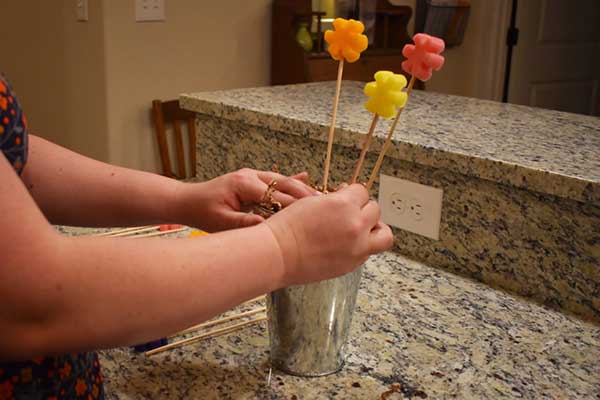
Step 7
This is the fun part! Start picking up your "flowers" and arranging them to your liking. You may have to trim or break the ends of some of the skewers off so that they will be a little shorter in front but a pair of scissors or a firm hand will easily take care of this.
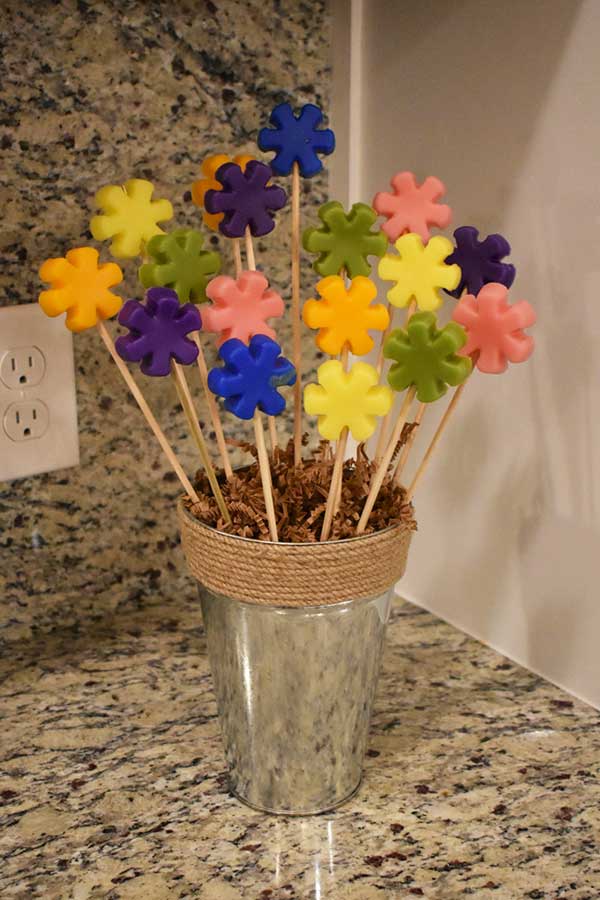
That's it!
Your adorable little tart bouquet is complete! You can always add more decoration to the vase if you'd like. Perhaps tie a ribbon around the top? Add some jewels with hot glue. You could even add glitter to your tarts if you want them to be even more fun. The best thing about this project is that you can make it your own by using your favorite colors, fragrances, and decorations!
Tag us if you share your creations on your social media accounts! You can use the hashtag #lscscommunity and see your beautiful creations on our Lone Star Community Page!